Welcome to
Info Design 2
Today's Schedule
- Introductions
- Course Overview
- Course Project
- Required Textbook and Software
- The Internet
- Getting Ready to Code
- Homework
Instructor
Dave Landry
I'm a husky

Ryder Hall circa 2008
I developed an interactive map visualization in Java that showed co-authorship of SIGGRAPH papers.
Then I made some quirky iPhone games.
Now I have a company that creates large-scale visualization platforms for big data.

Questions for you
- Who are you?
- How comfortable are you with coding?
Any questions for me?
Course Overview
Building upon previously learned design fundamentals and information design concepts, this course aims to translate these skills into the interactive digital world through the use of ever-evolving web technologies.
You're going to make a website that visualizes data.
Topics Covered
- Broad overview of the web stack
- Basic HTML and CSS usage
- Javascript and D3
- Data Collection
- Visualization Principles
- User Interaction
Online Resources
All of these lectures, along with all other class materials, are available at the following URL:
http://www.dave-landry.com/classes/artg4552-2016/
Course Project
Overview
Utilizing the skills learned in the first half of the semester, you will each be creating a visualization platform using a dataset of your choosing.
Requirements
- Dataset must contain at least 500 entries.
- Data must be visualized in 2 distinct ways.
- Site must facilitate fluid user navigation.
Required Textbook and Software
Course Textbook
Programming textbooks quickly become dated, and the best solutions are found through collaboration and open dialogue.
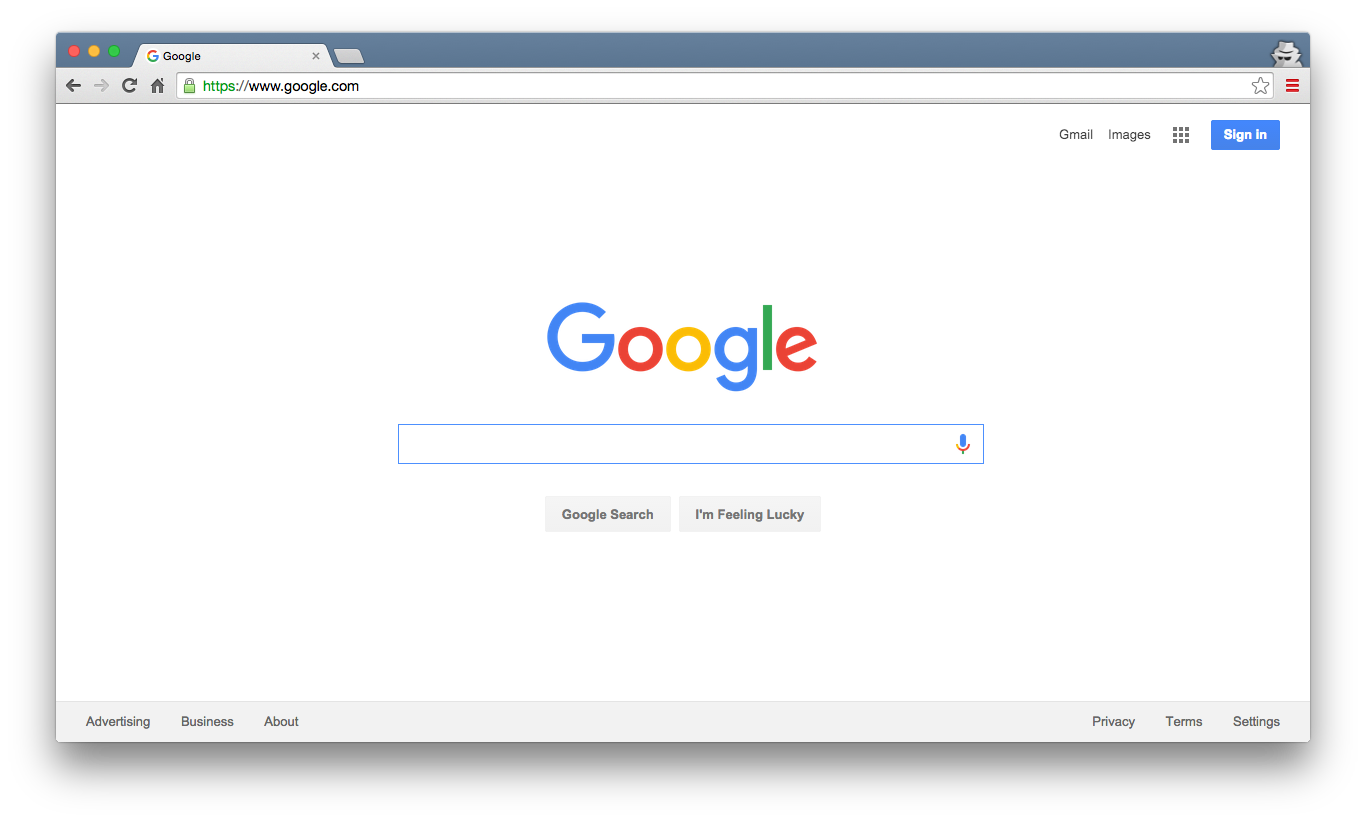
Web Browser

I don't care which one you use.
...but I use Chrome because I think it's the best, and I'll make fun of you if you use Internet Explorer.
Text Editor
- Suggestions:
- Atom
- Sublime Text
- TextMate
Take a minute to download any programs you need.
The Internet
What is it?
The internet is just a bunch of connected computers.
But what about "the cloud"?
The cloud is just a bunch of connected computers that you're allowed to store your data on.
Clients and Servers
When a user types an address into a browser, their computer makes a request to another computer that is running software that can retrieve and send back (serve) files.
Github
What is Github?
“Git (/ɡɪt/) is a distributed revision control system with an emphasis on speed, data integrity, and support for distributed, non-linear workflows.”
- Saves all file revisions for easy rollbacks
- A central place for code collaboration
- Open Source
- A great way to host a simple website (Github Pages)
Let's Sign up for an account
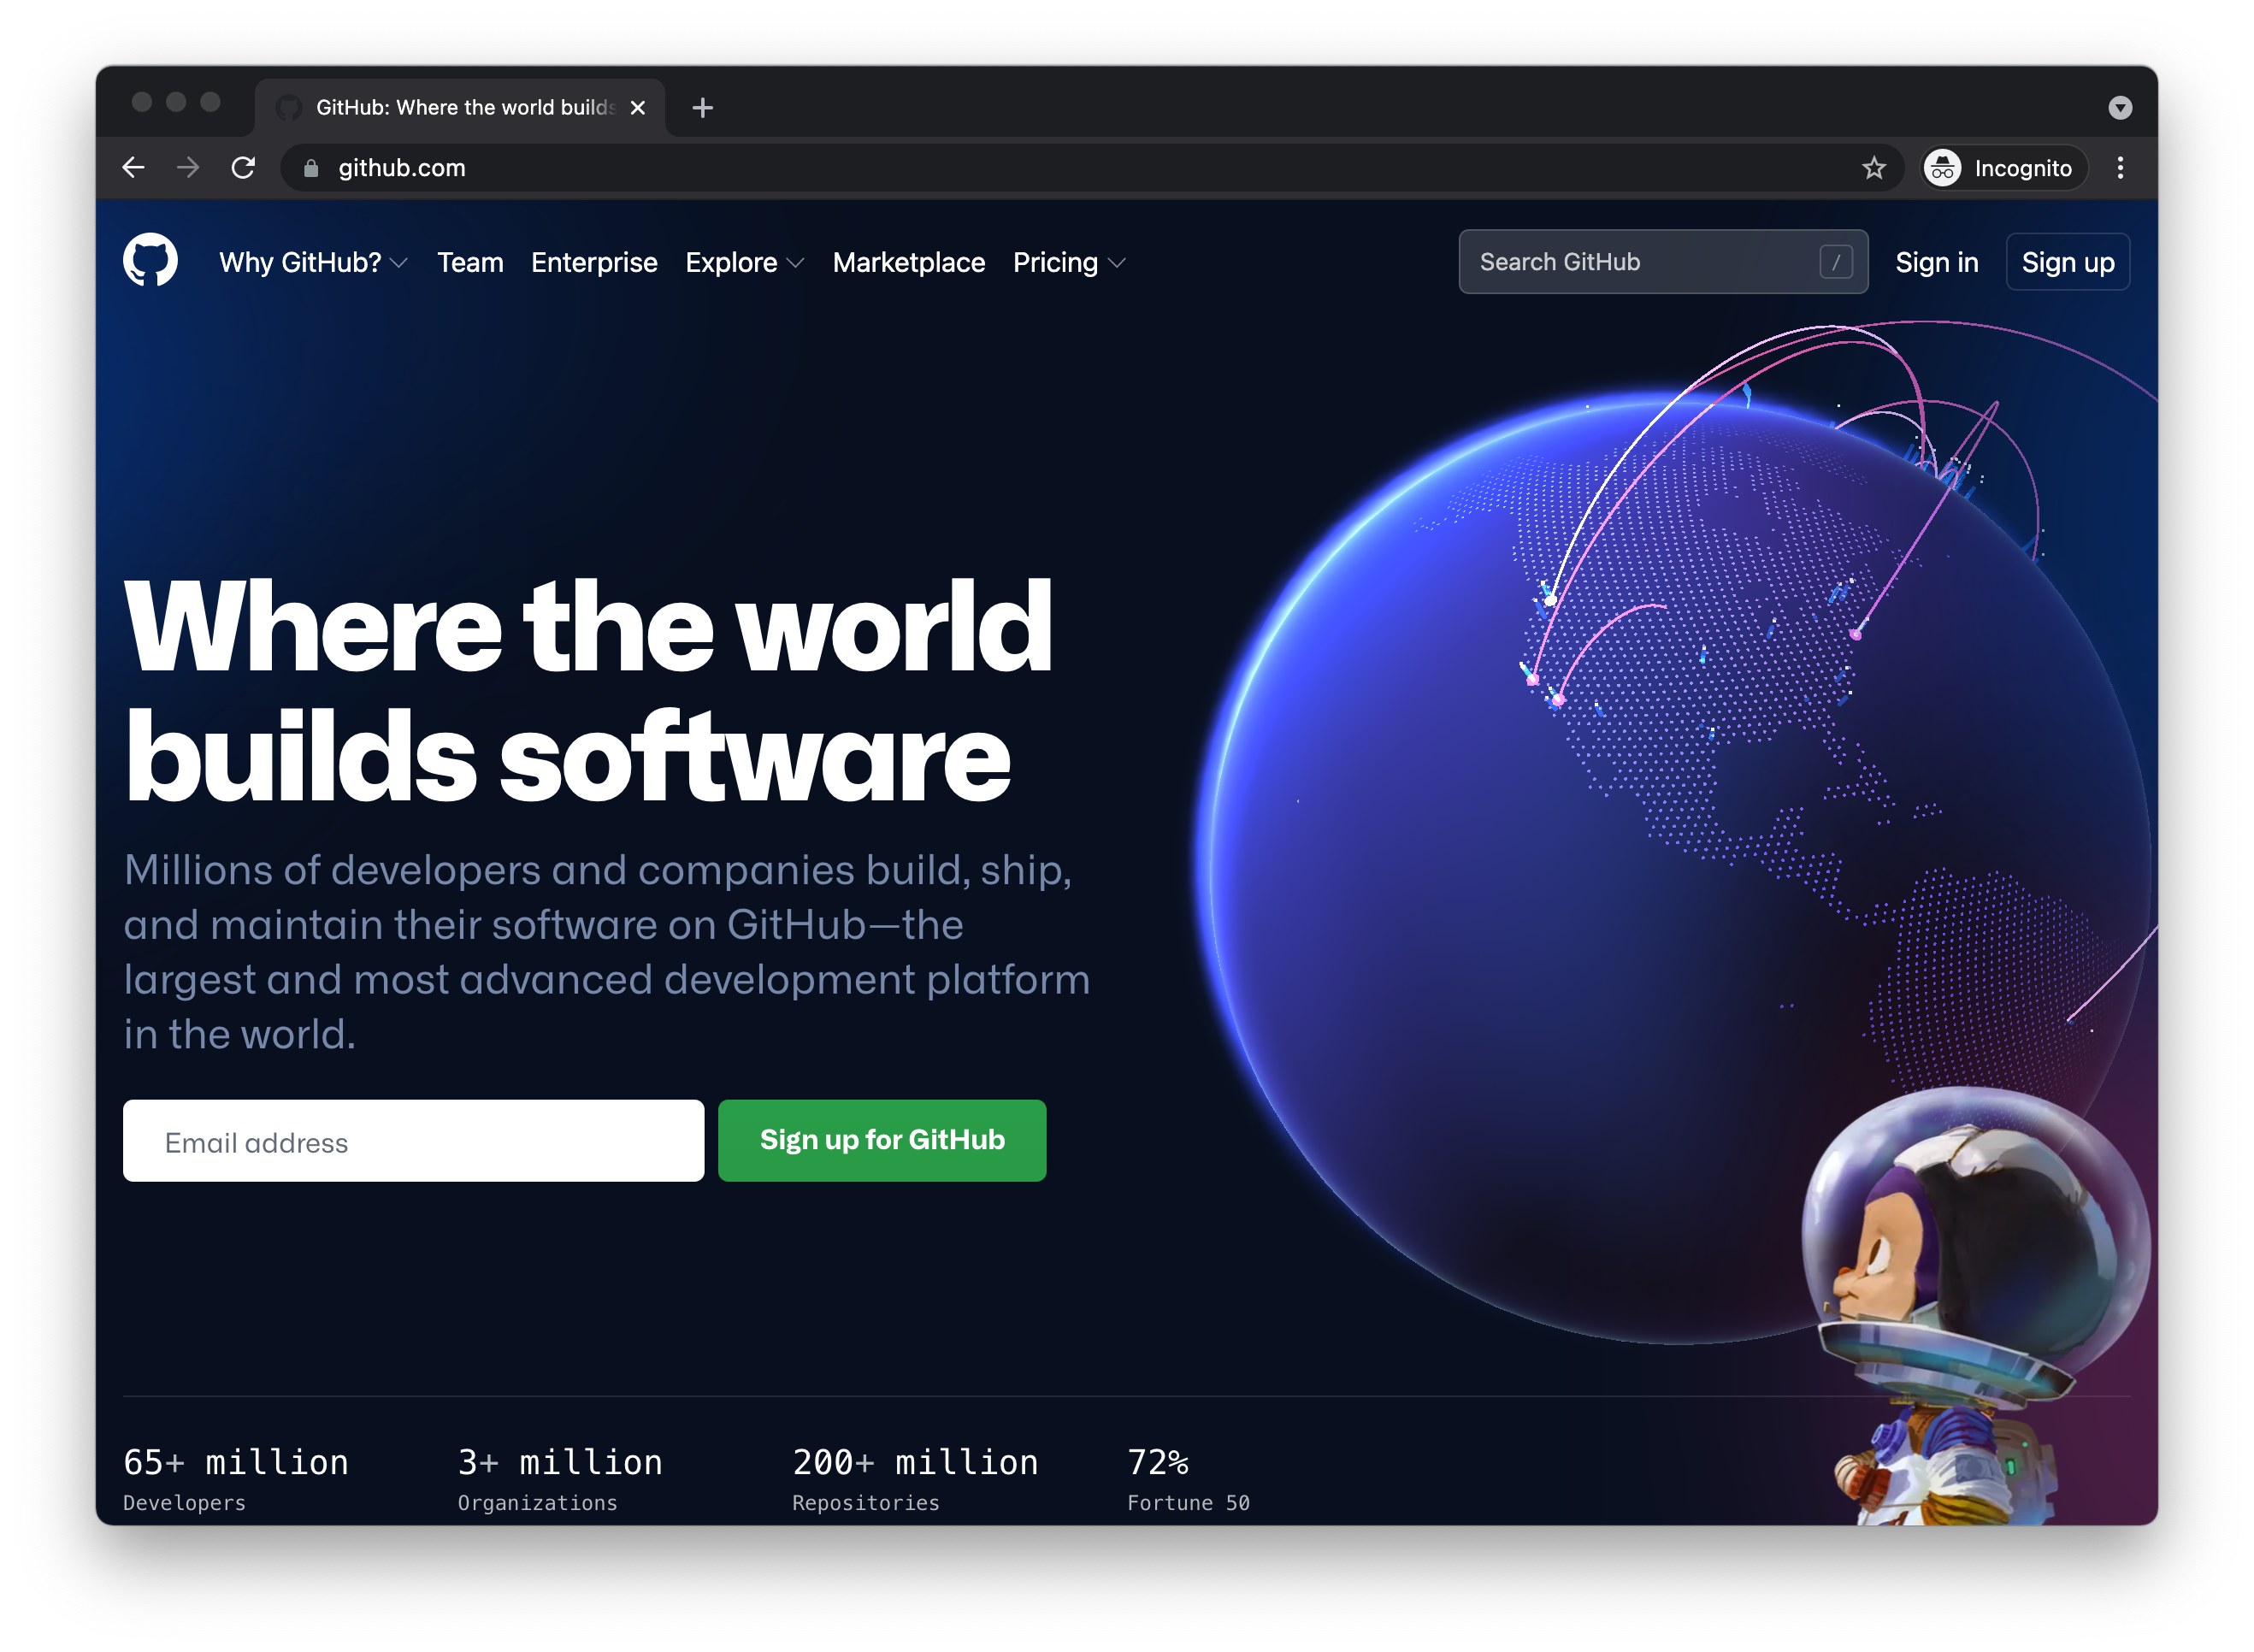
www.github.com
Create your first repository
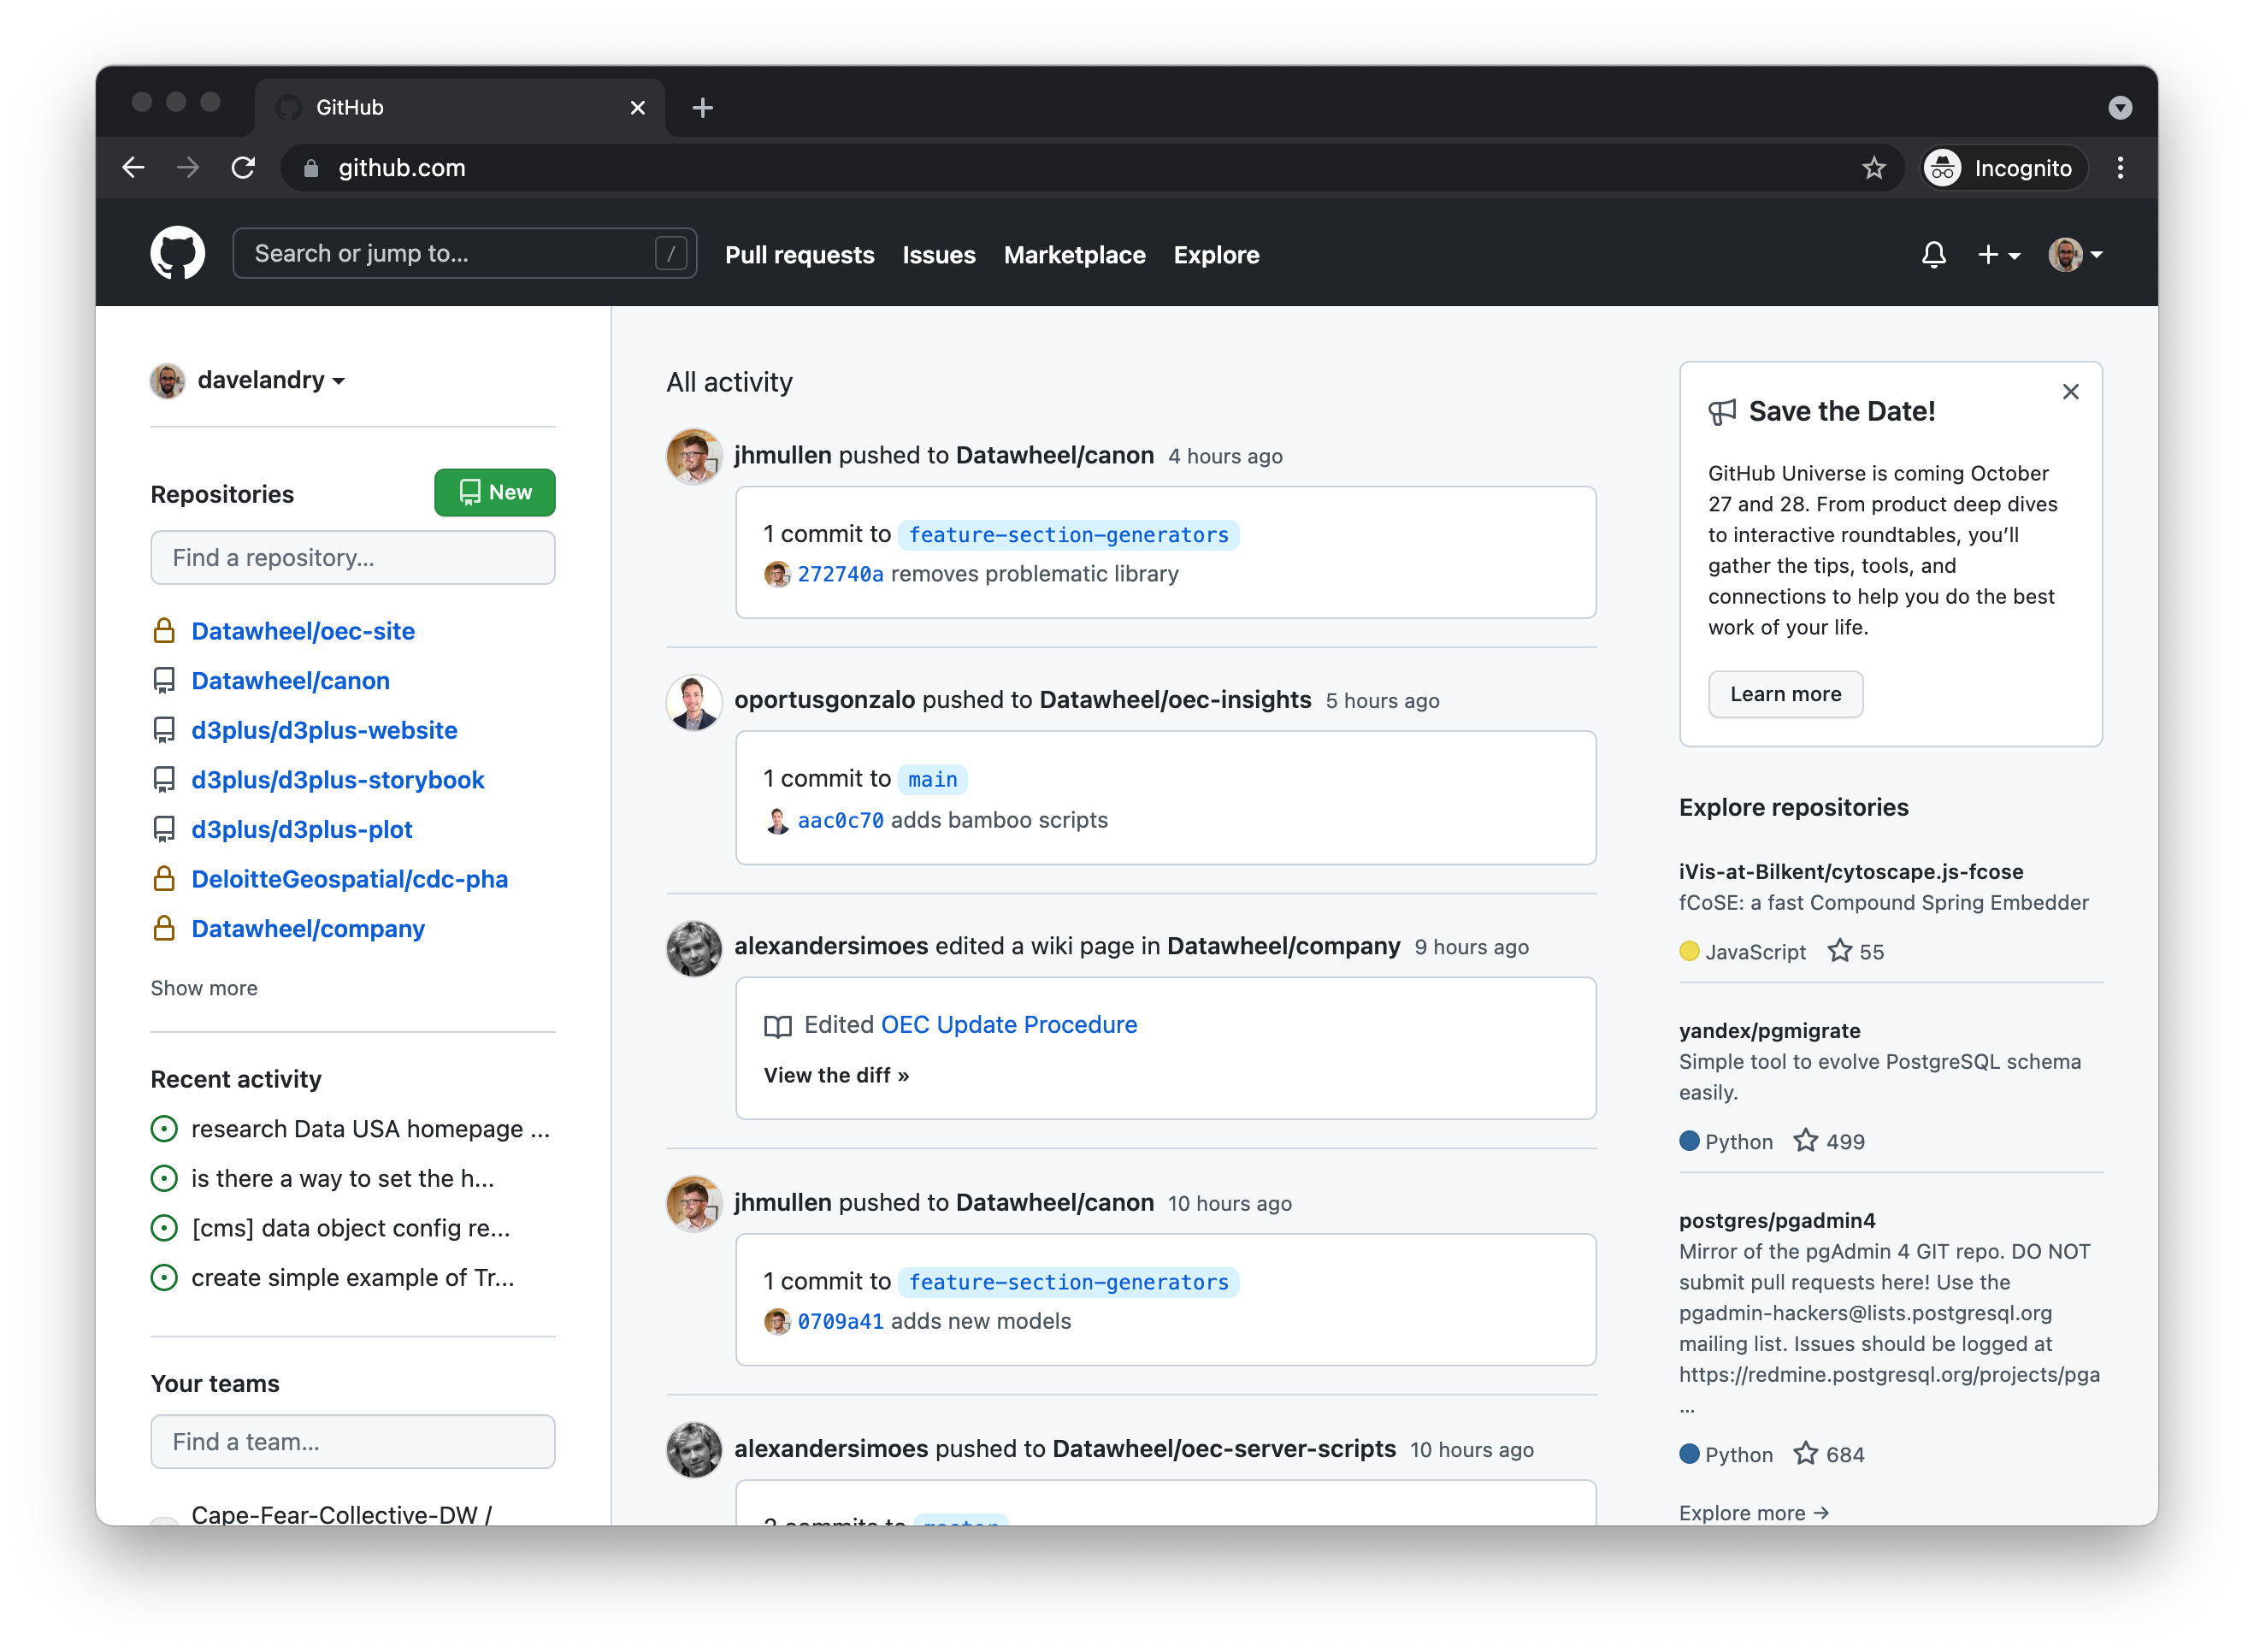
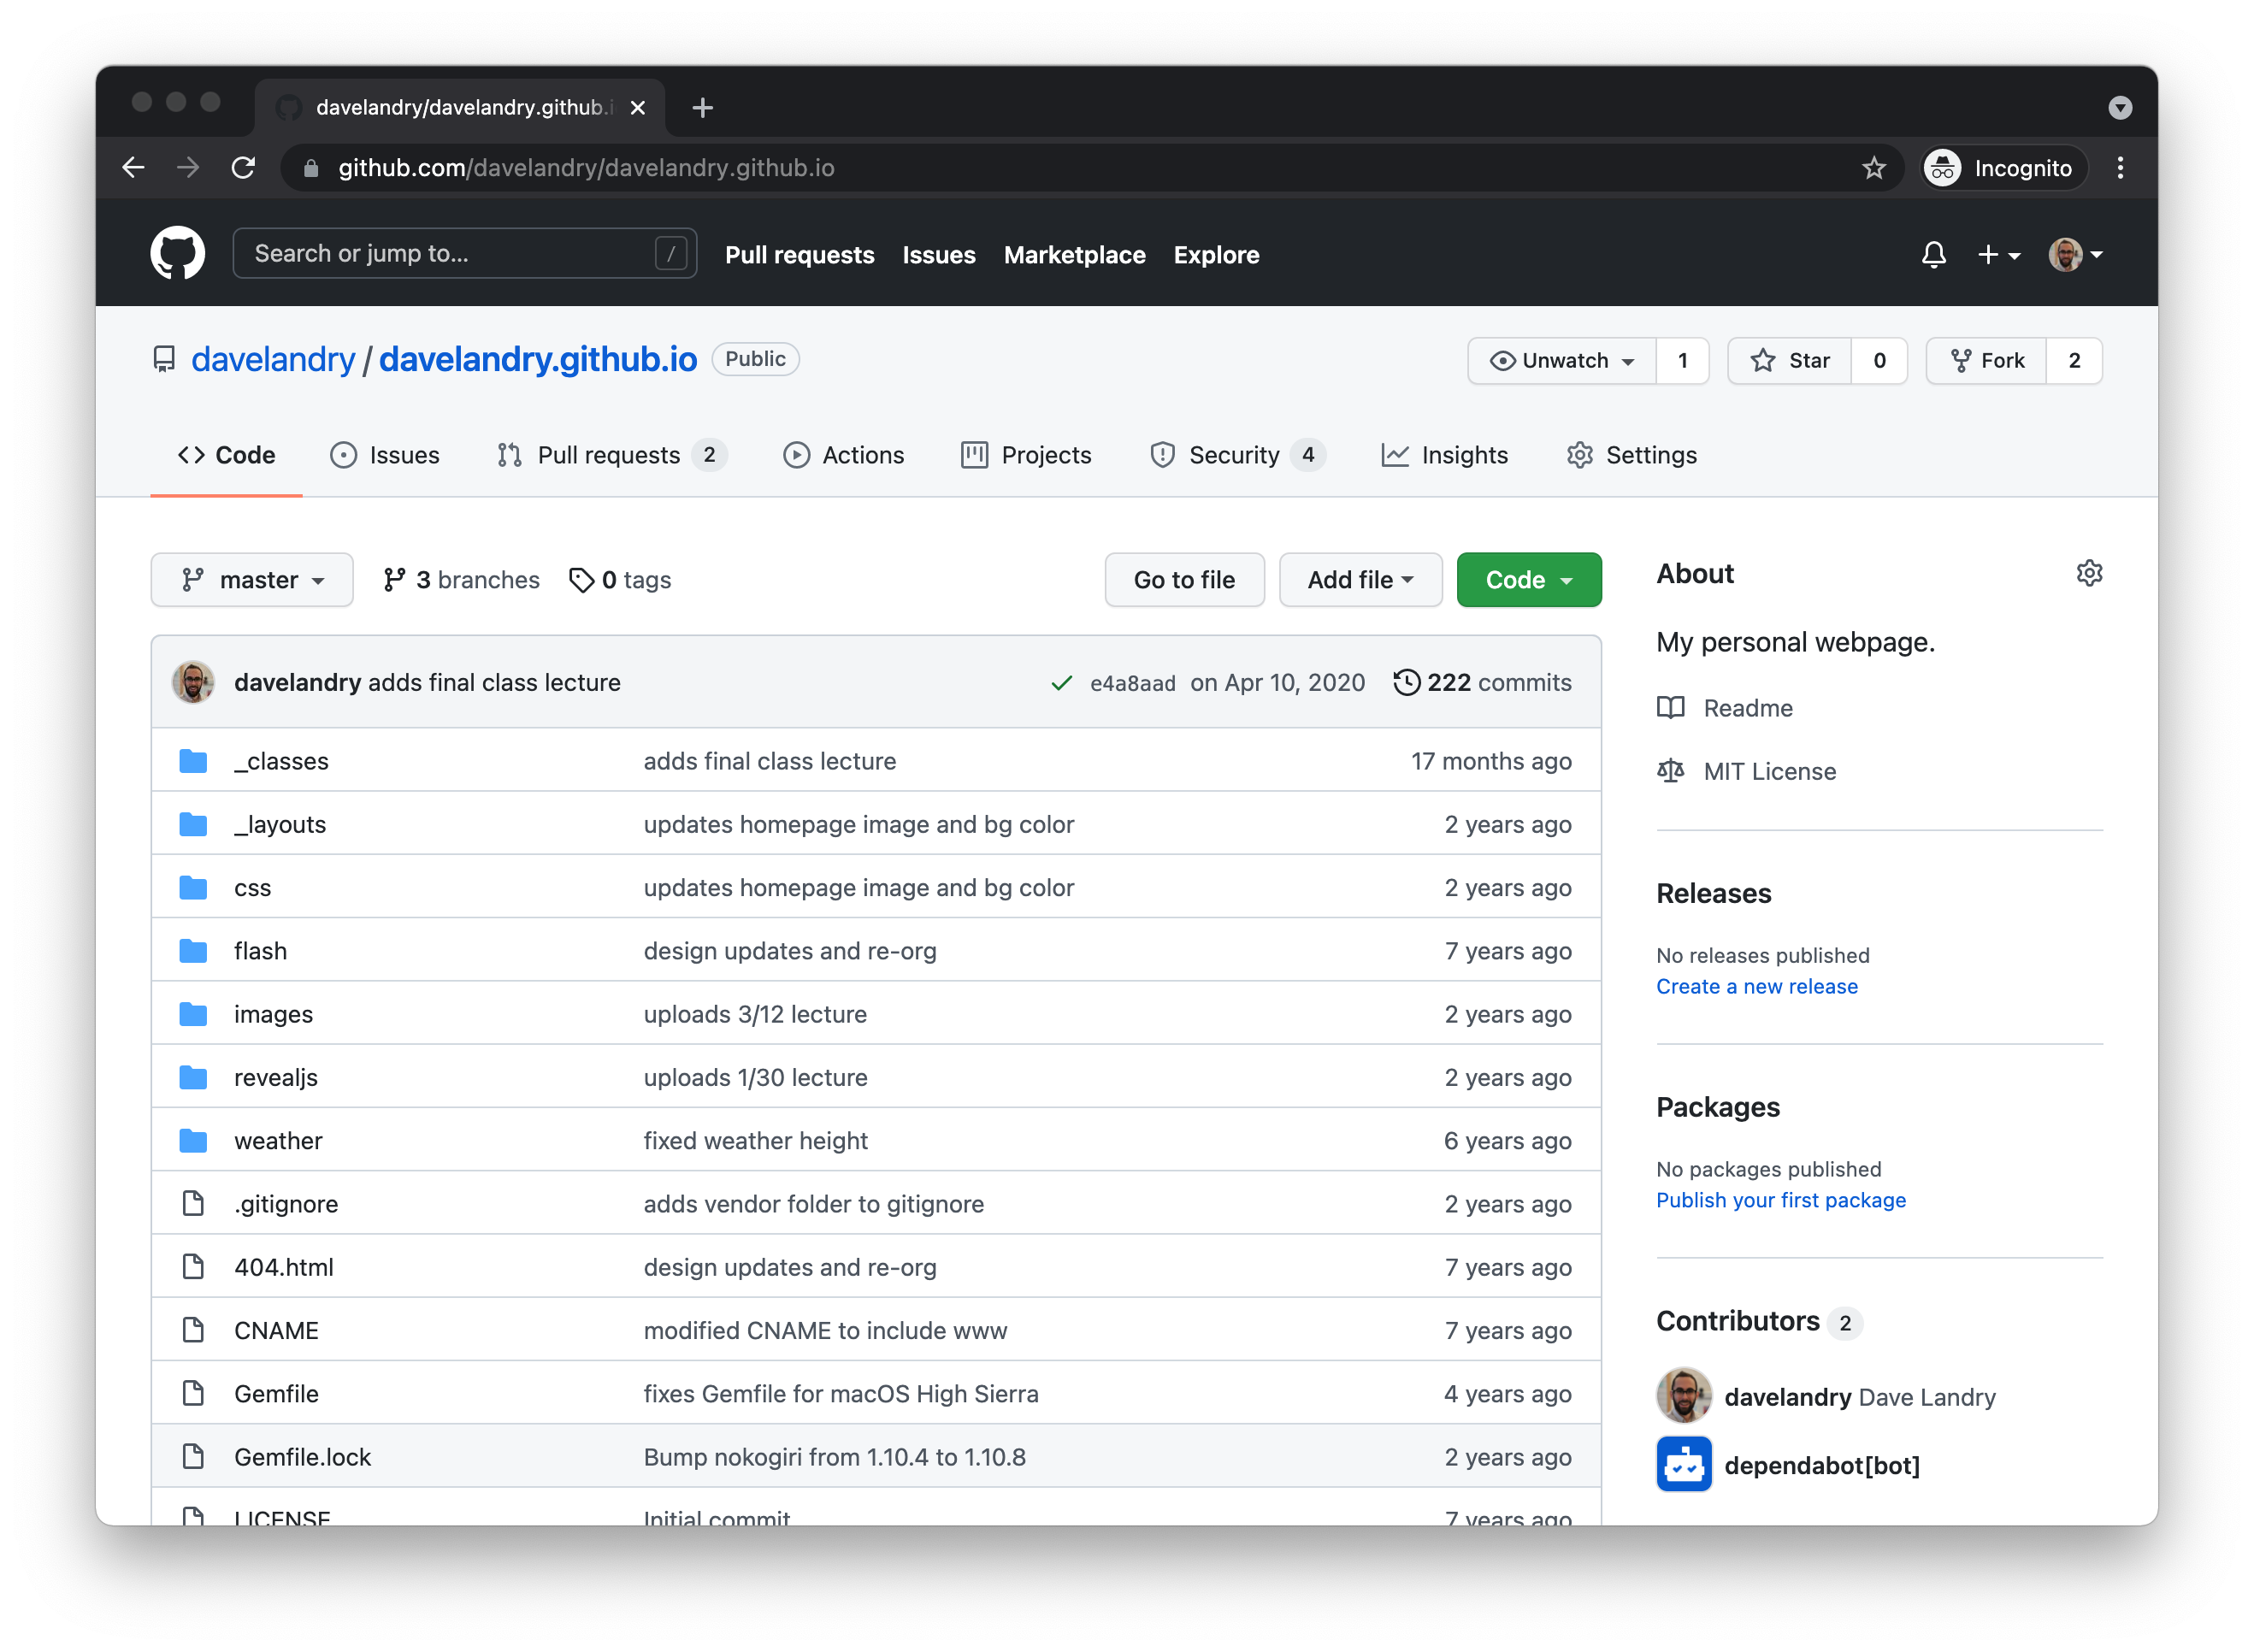
Your repository list is on the bottom right. You can think of a repository as a shared project folder.
Click the big green button.
Repository Settings
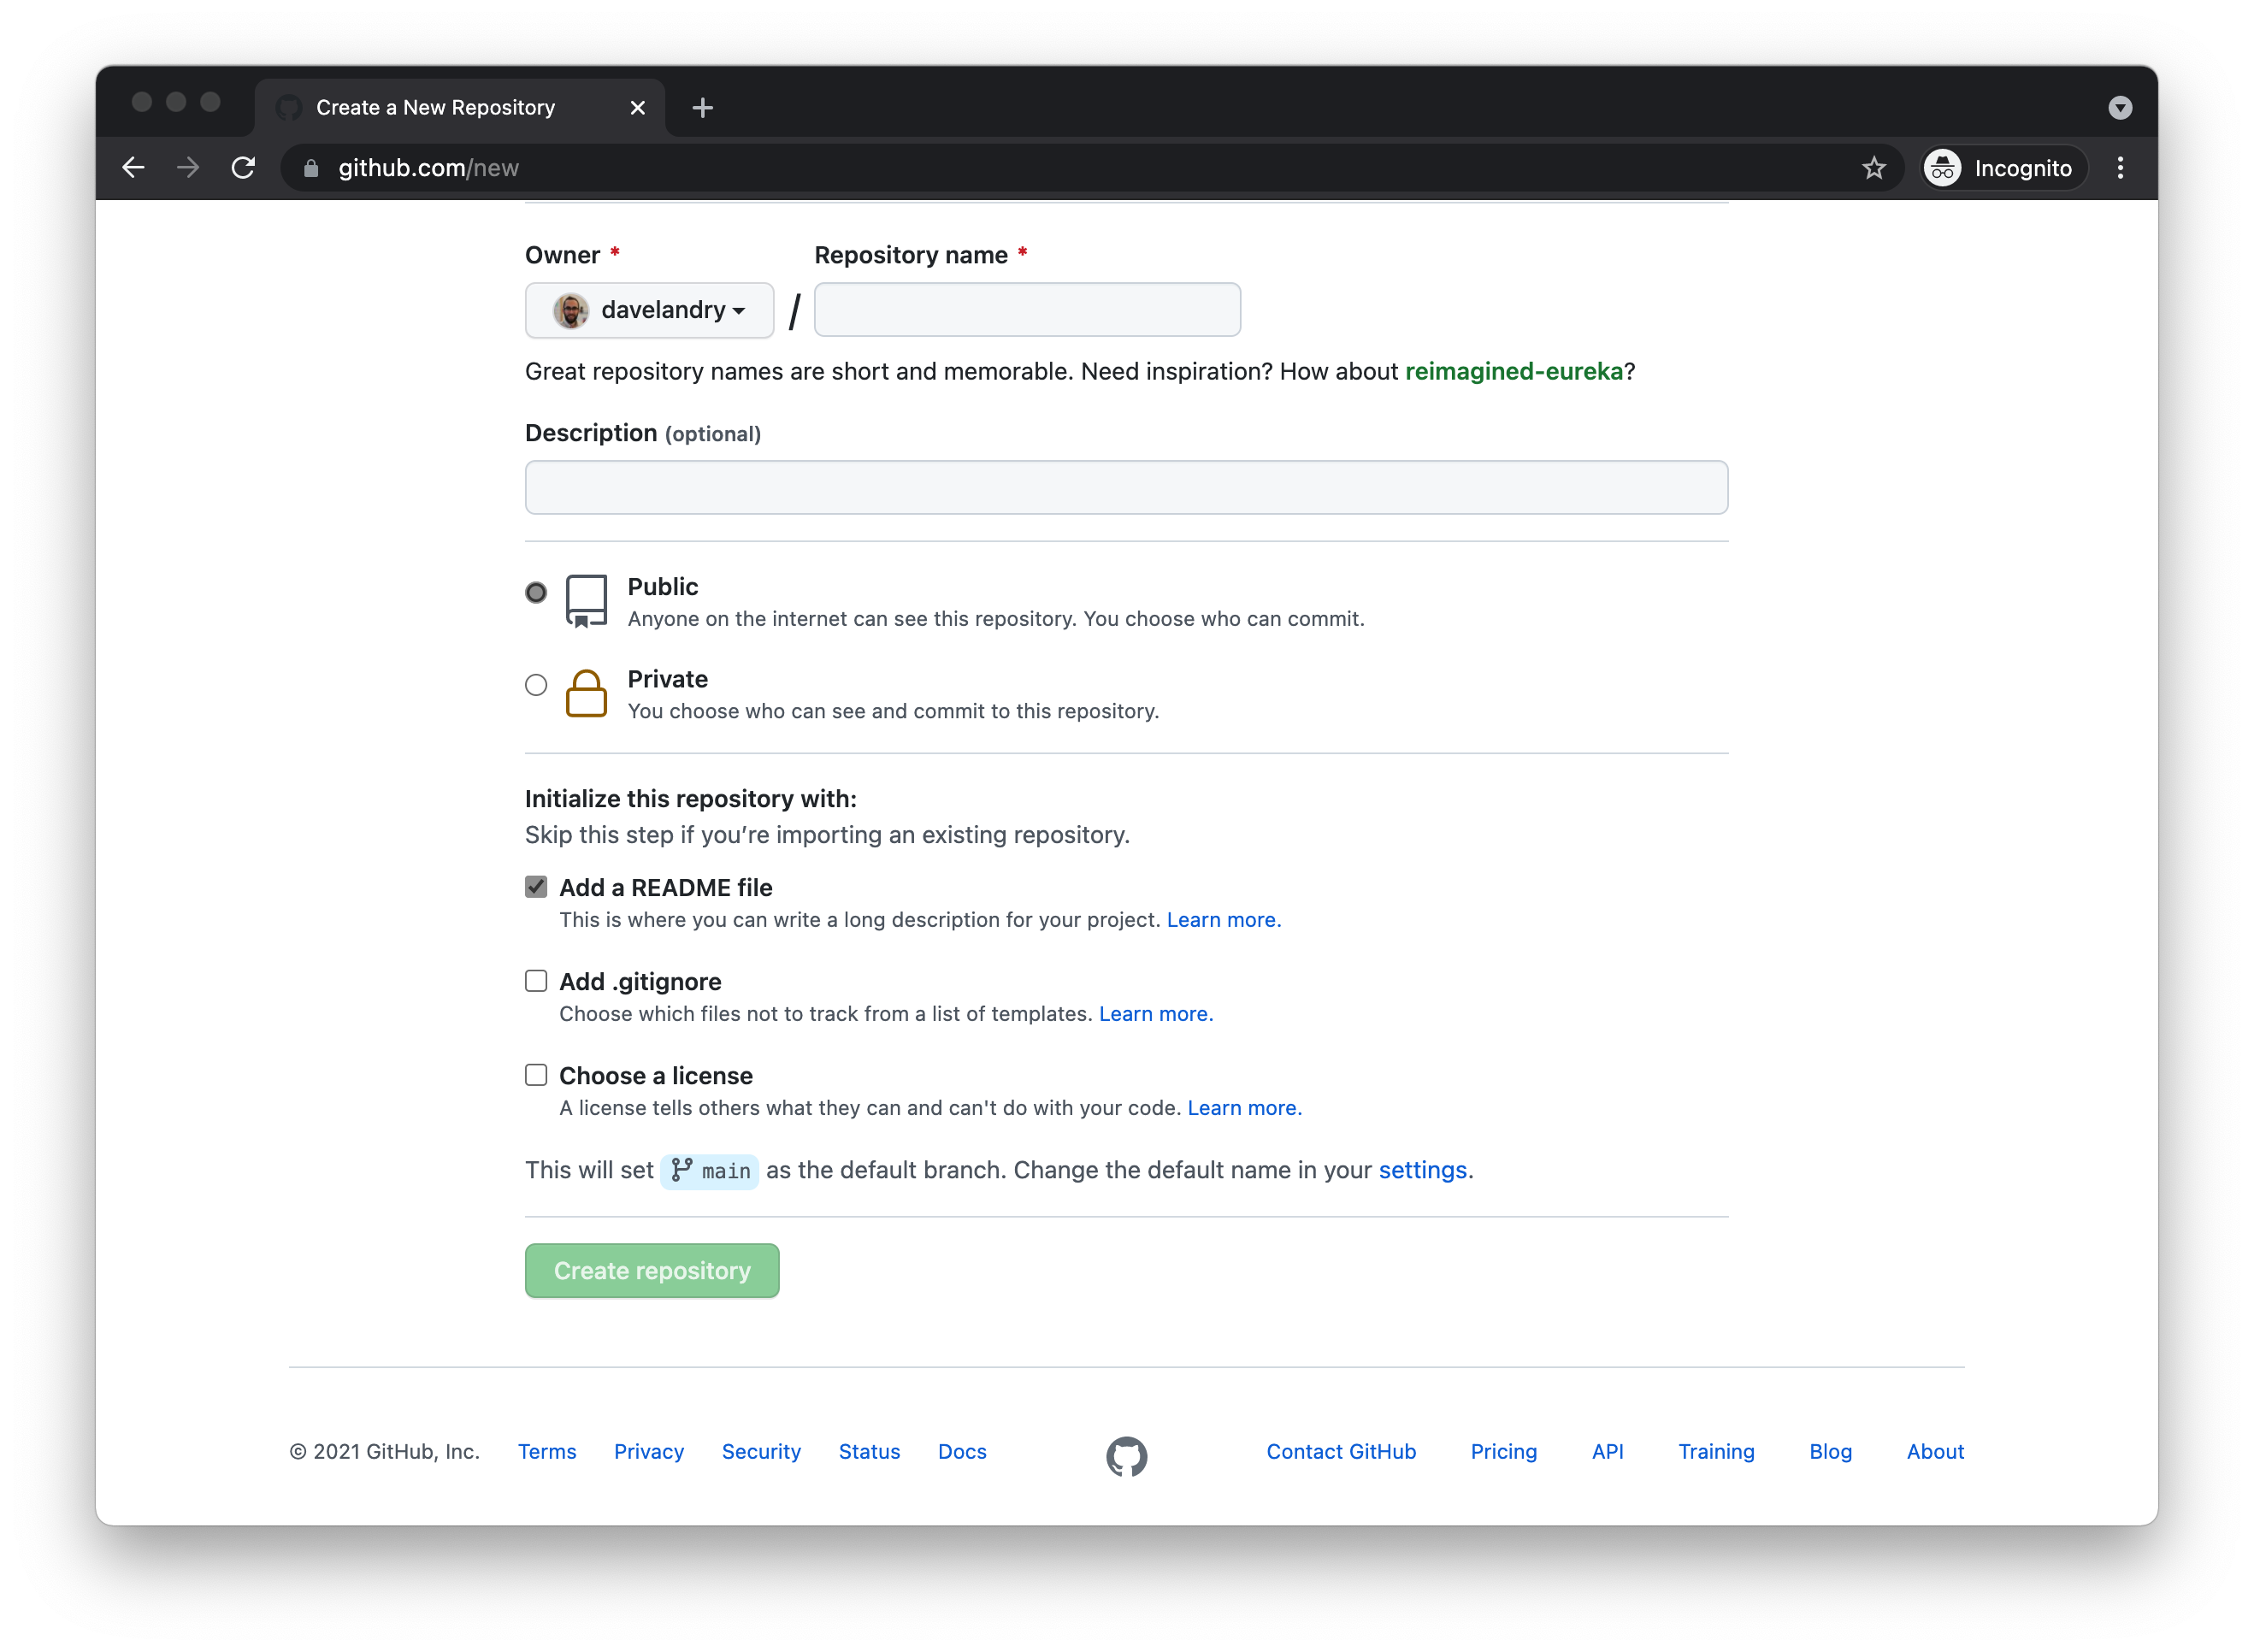
- <username>.github.io
- Make it Public
- Initialize this repository with a README
- Add .gitignore: Jekyll
Congratulations
You've created your first repository.
In a few minutes, it will automagically be published to http://username.github.io/
Let's edit a file
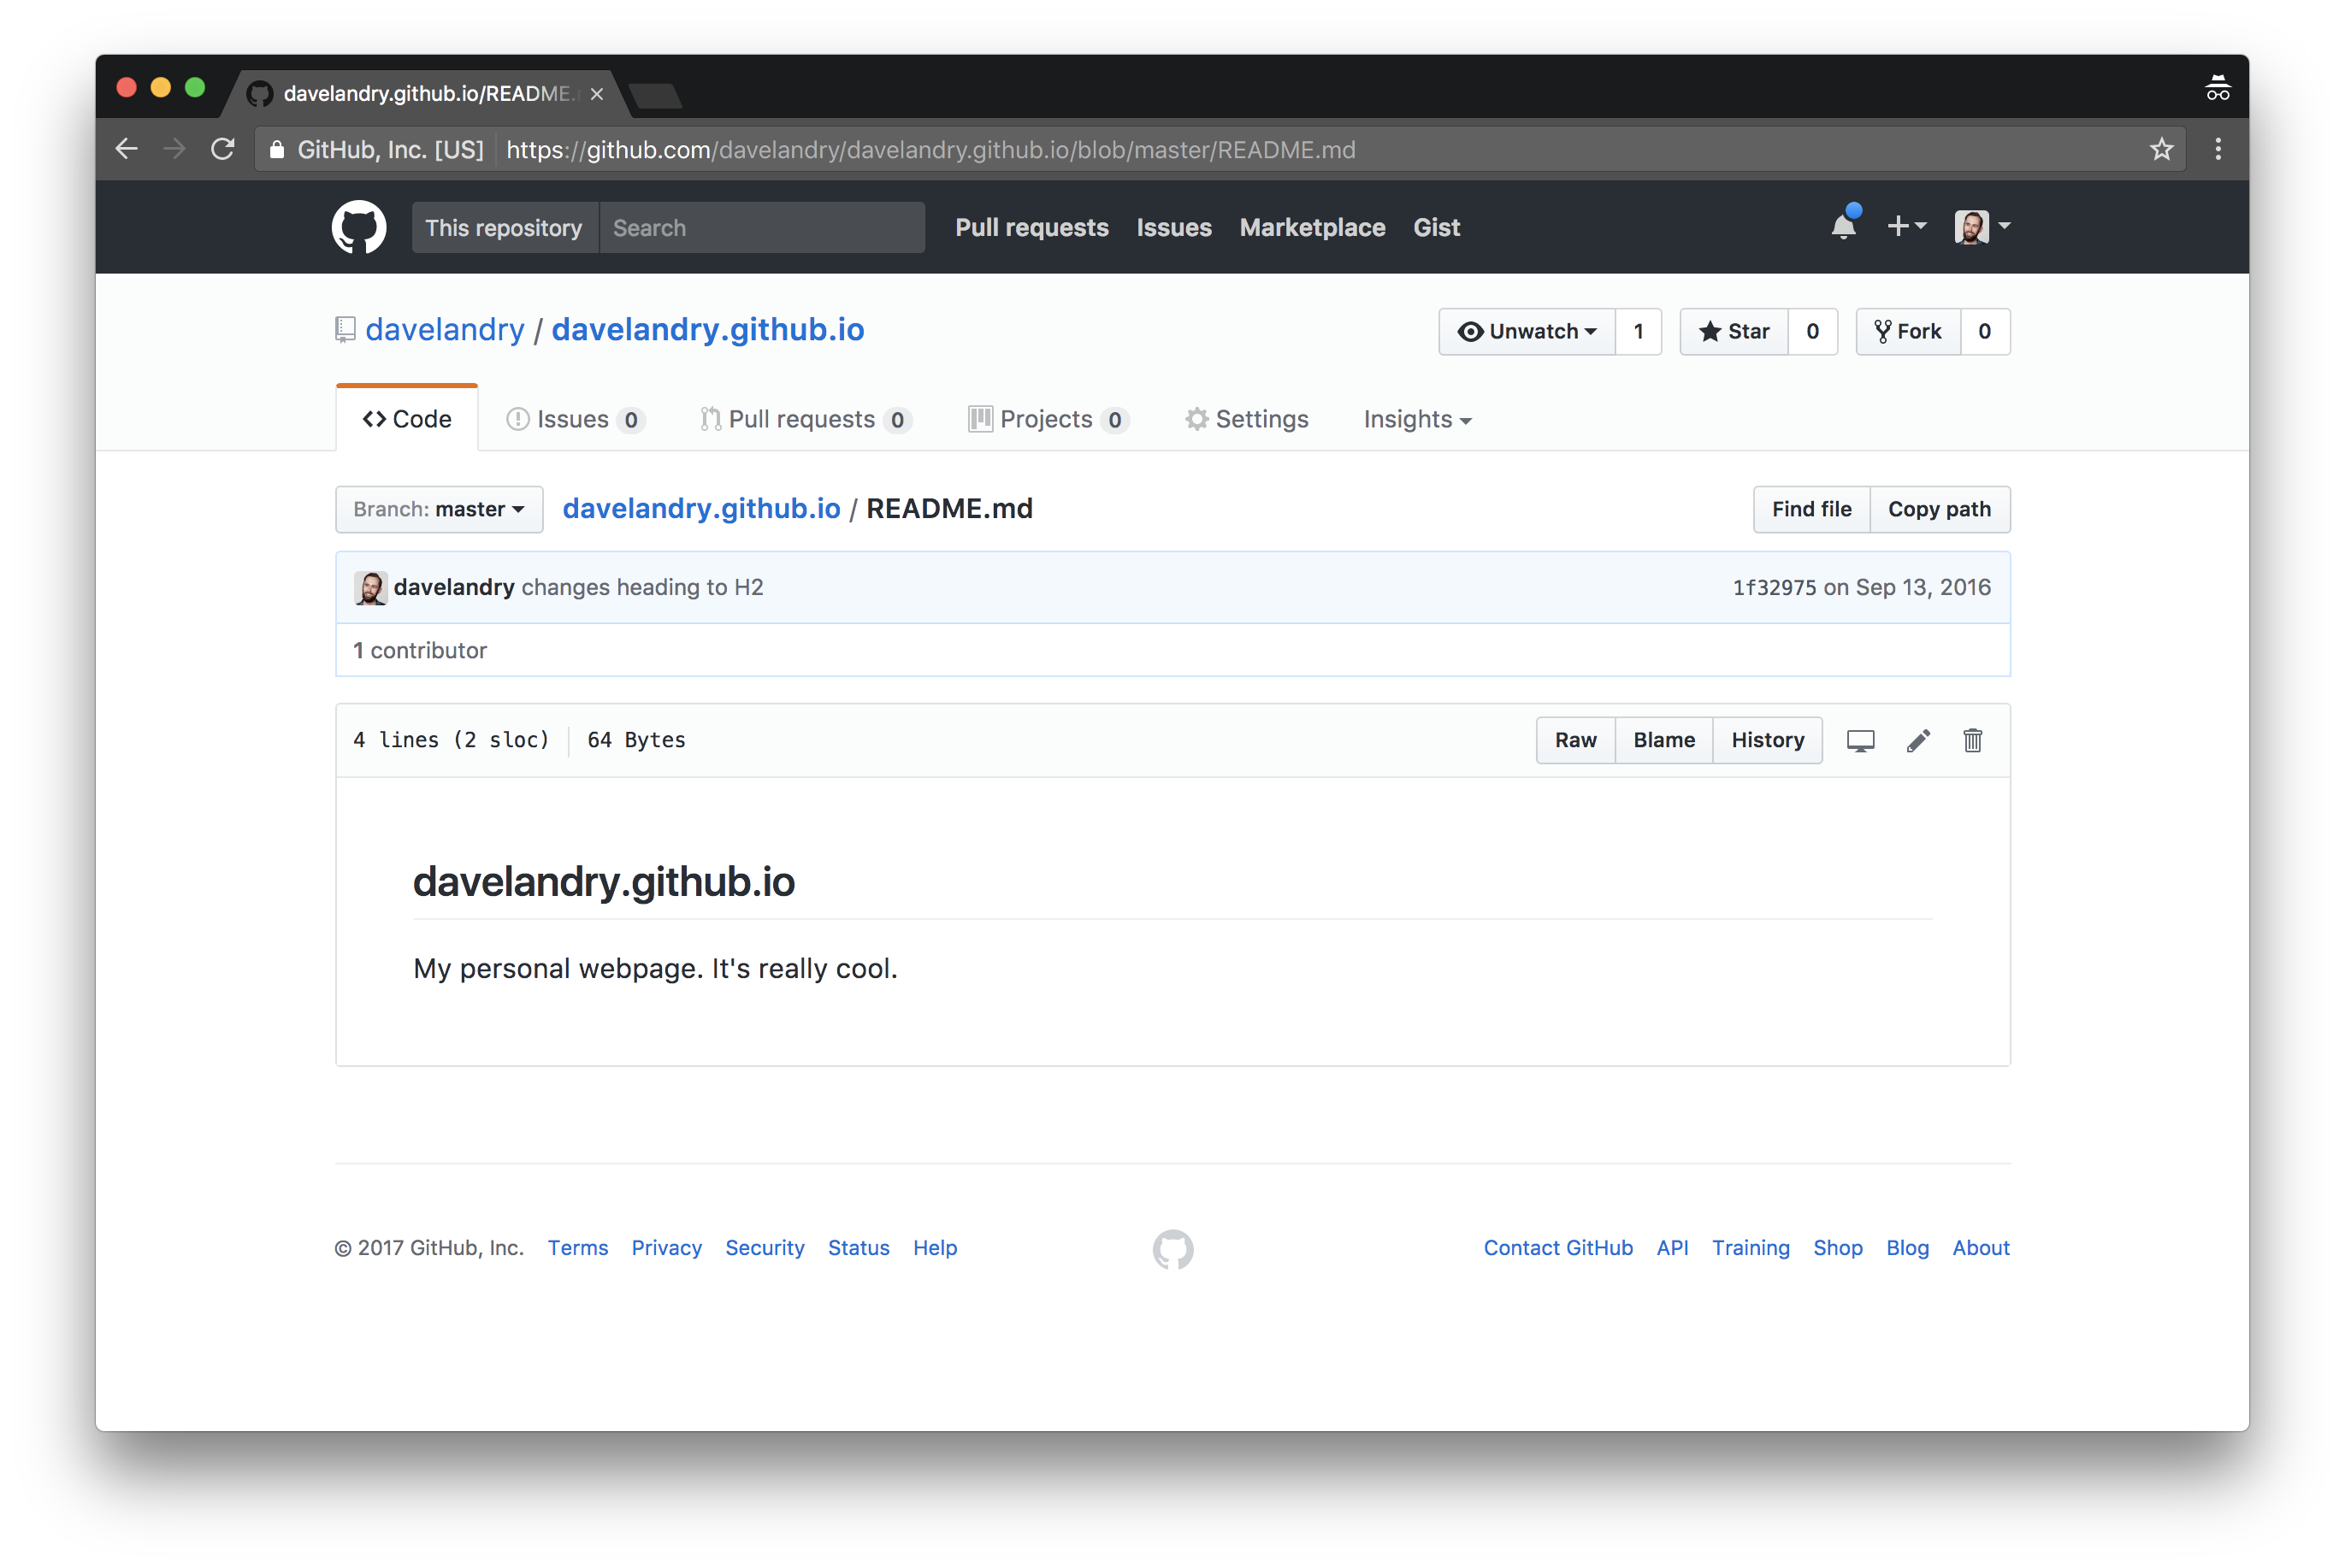
YOUR TASK: Change the contents of the README.md file
Let's add a file
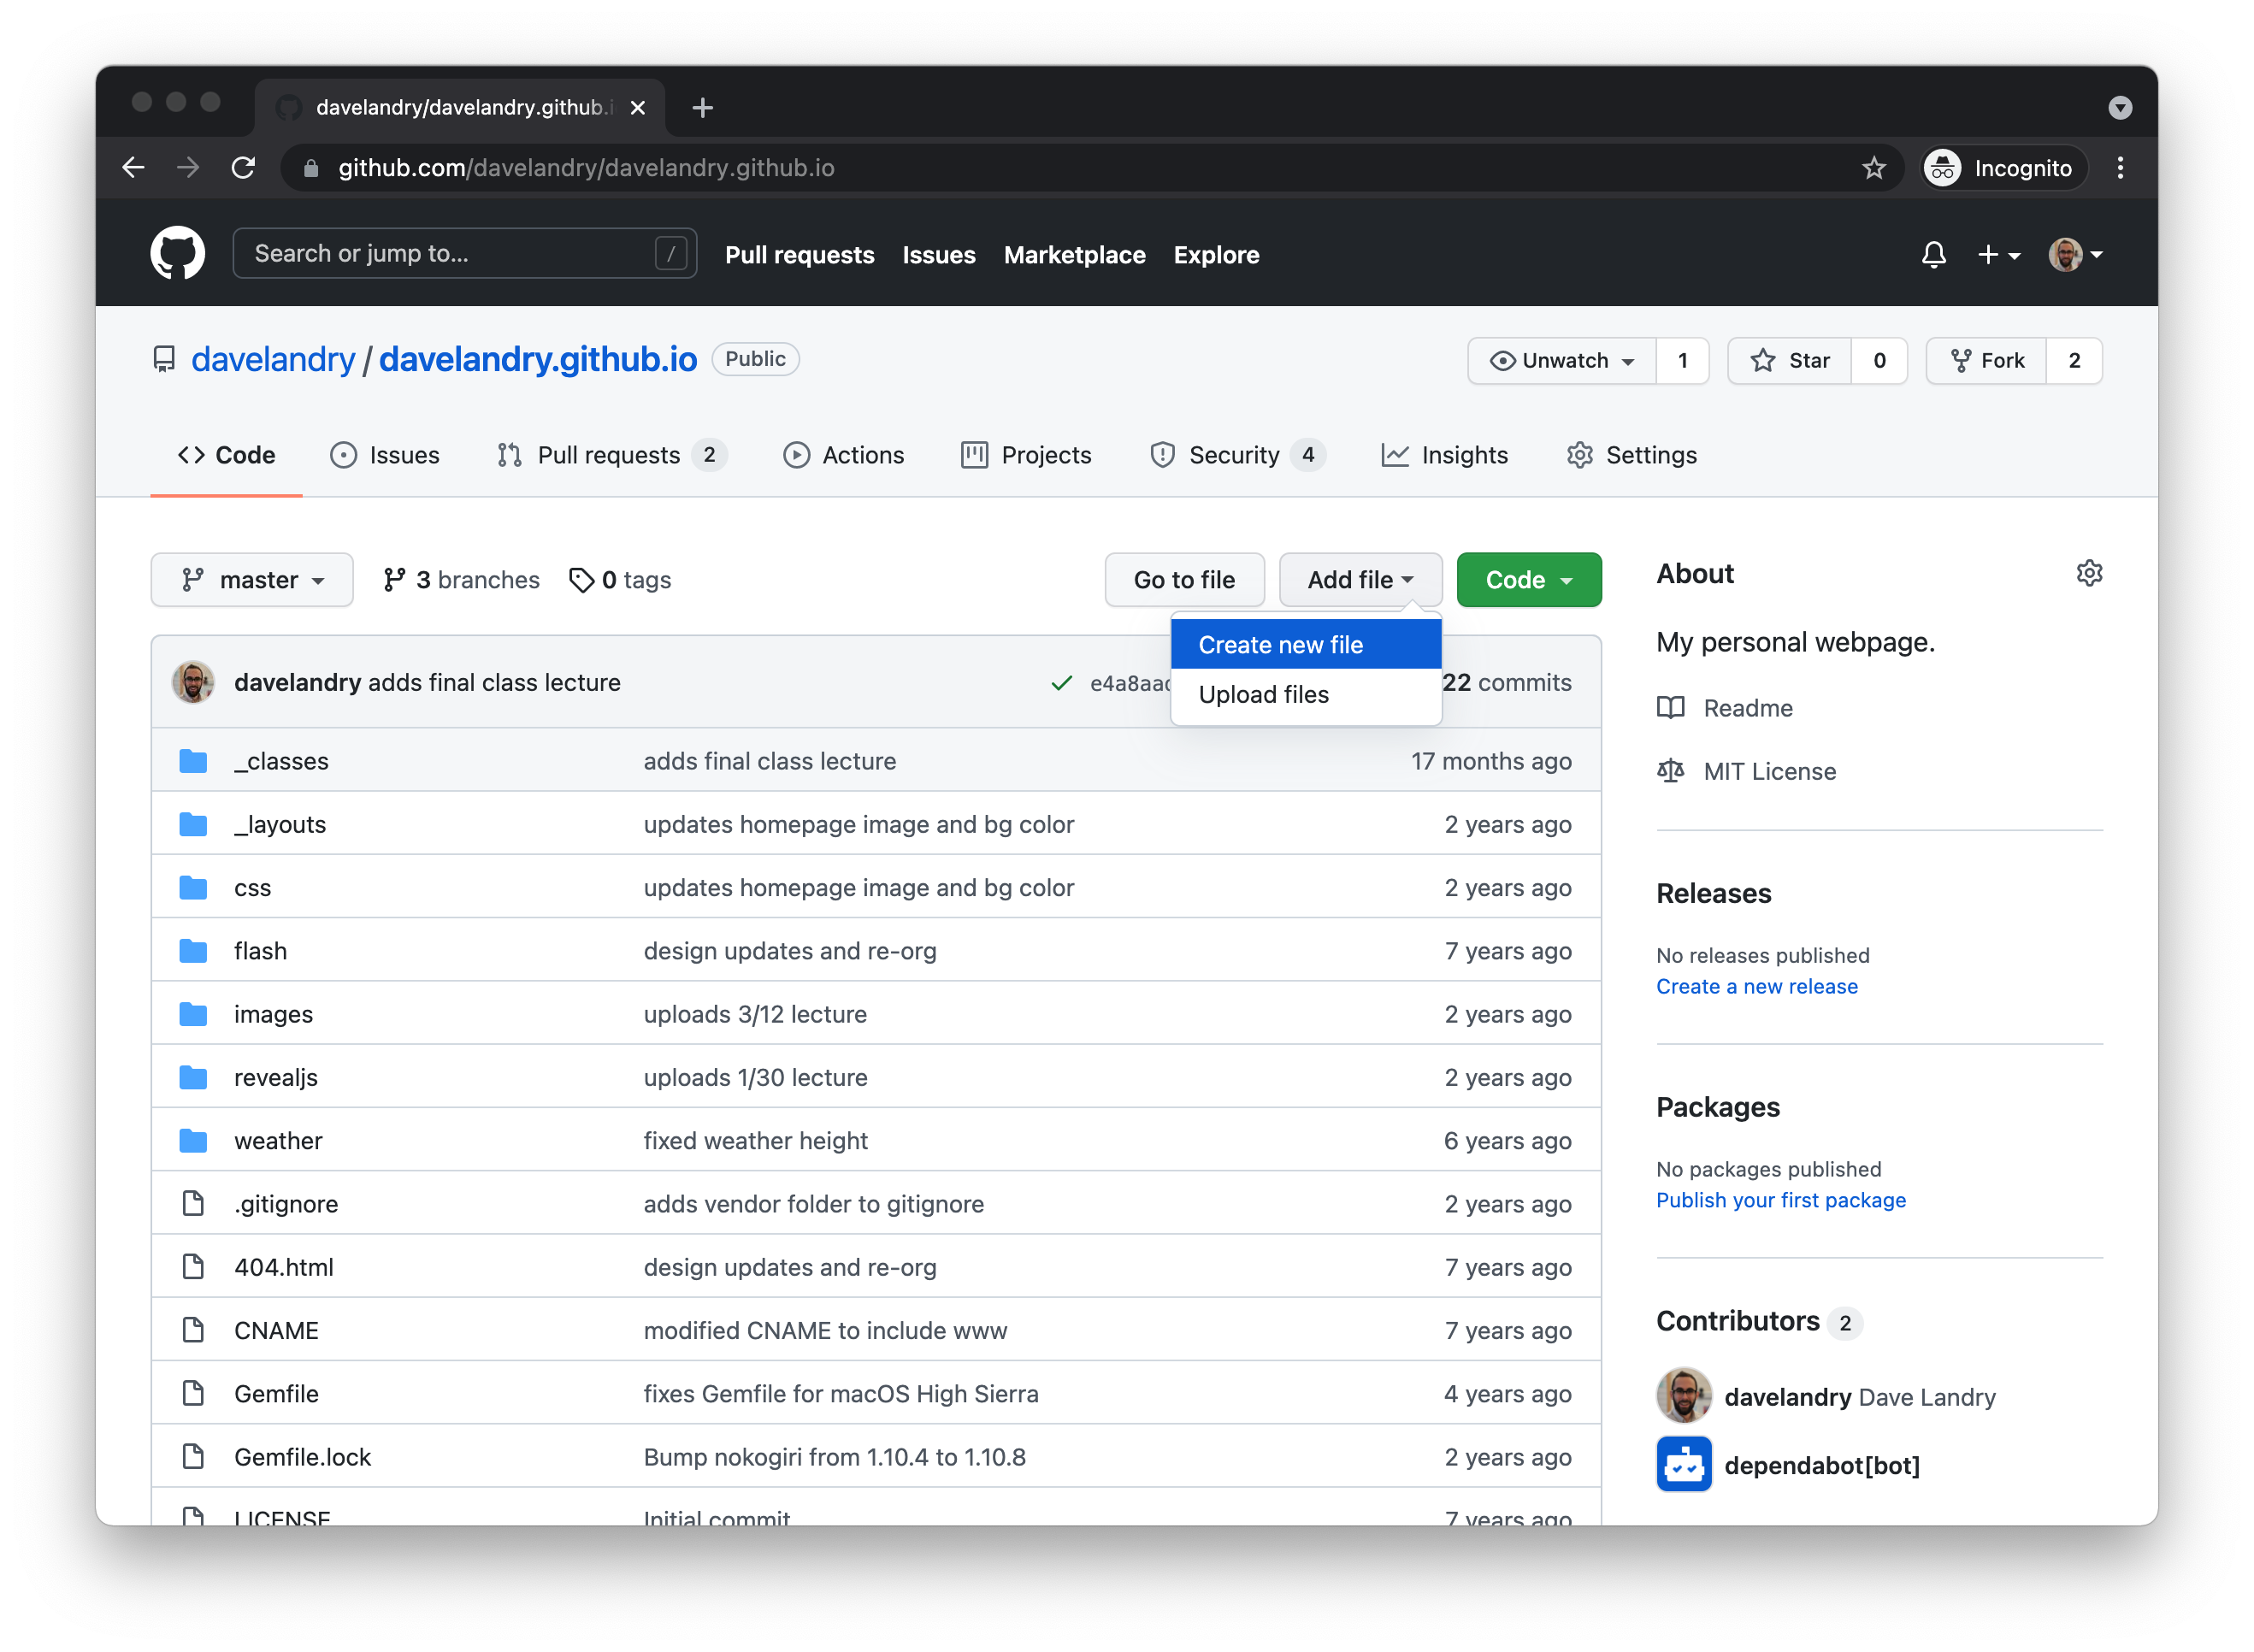
YOUR TASK: Create an index.html file and view it in a browser
Local Testing Repository
Why local? Github.com was easy!
- Trust me, the text editor you downloaded is better.
- Allows you to preview the changes in a browser before it goes live.
- You can update/upload multiple files in the same commit.
- ...and so much more!
Download Github Desktop
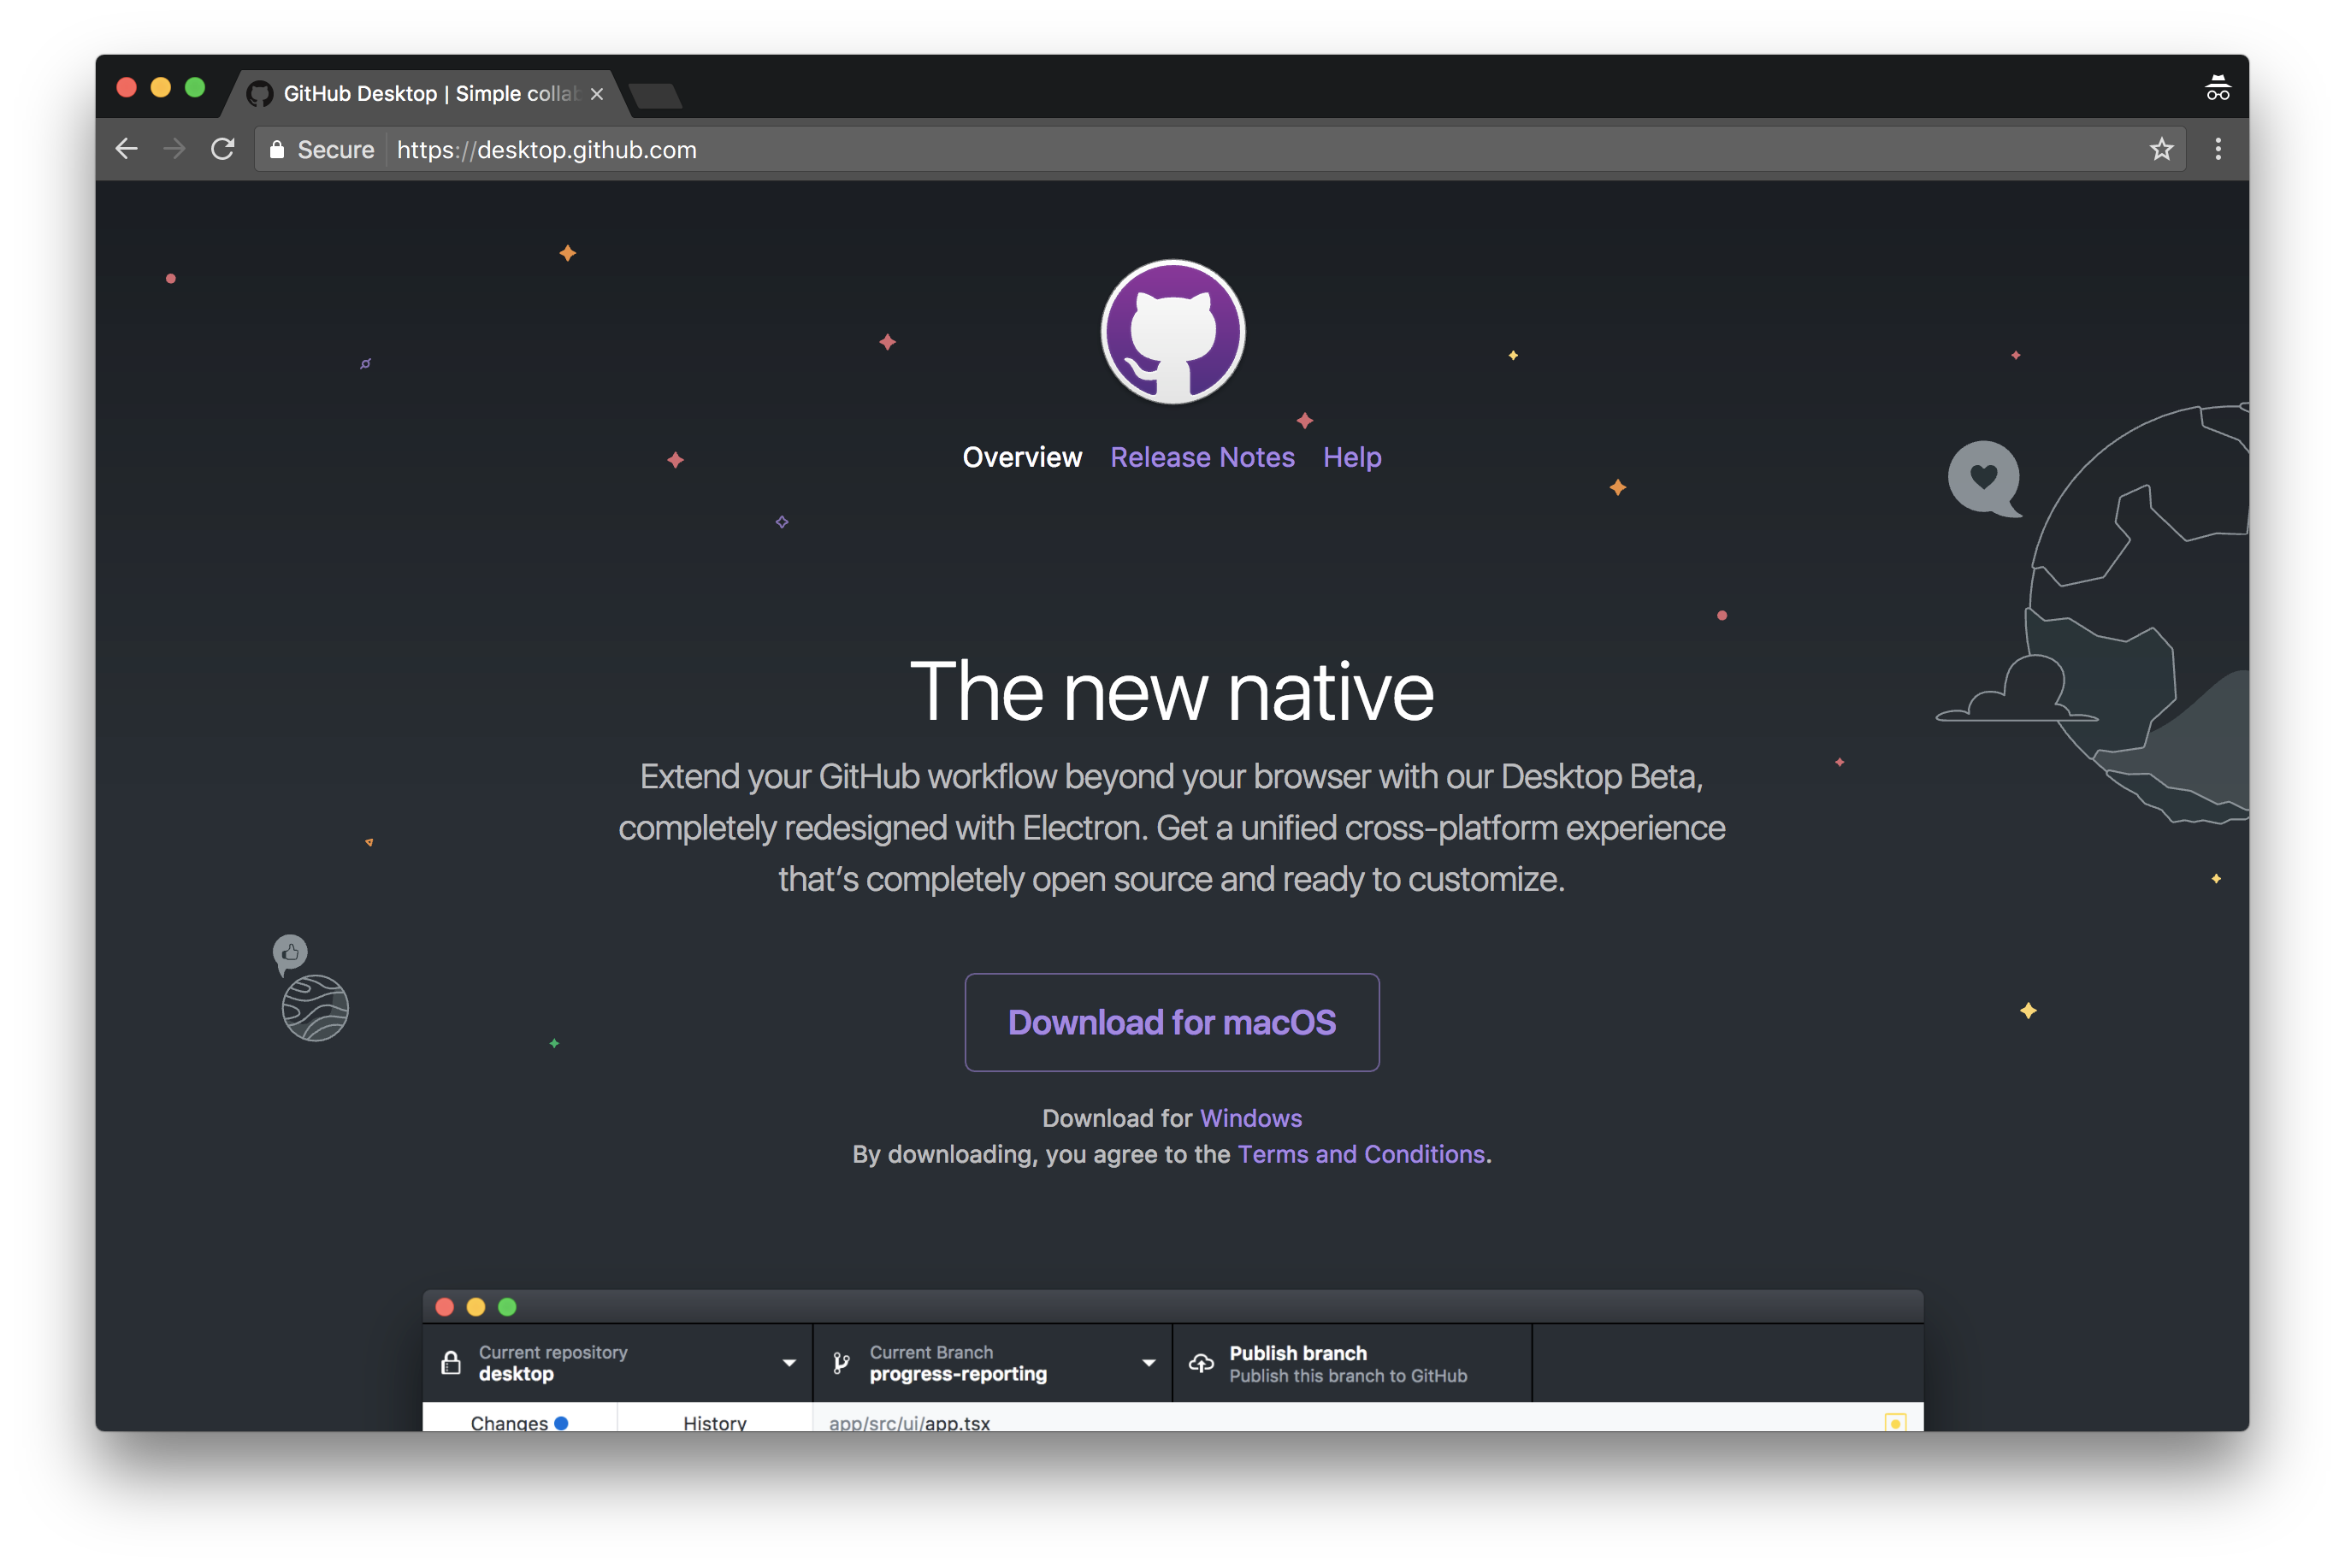 https://desktop.github.com/
Clone your Repository
After following the setup instructions, including logging into your account and installing any additional software, download your repository by using the menu hidden beneath the plus sign in the top left.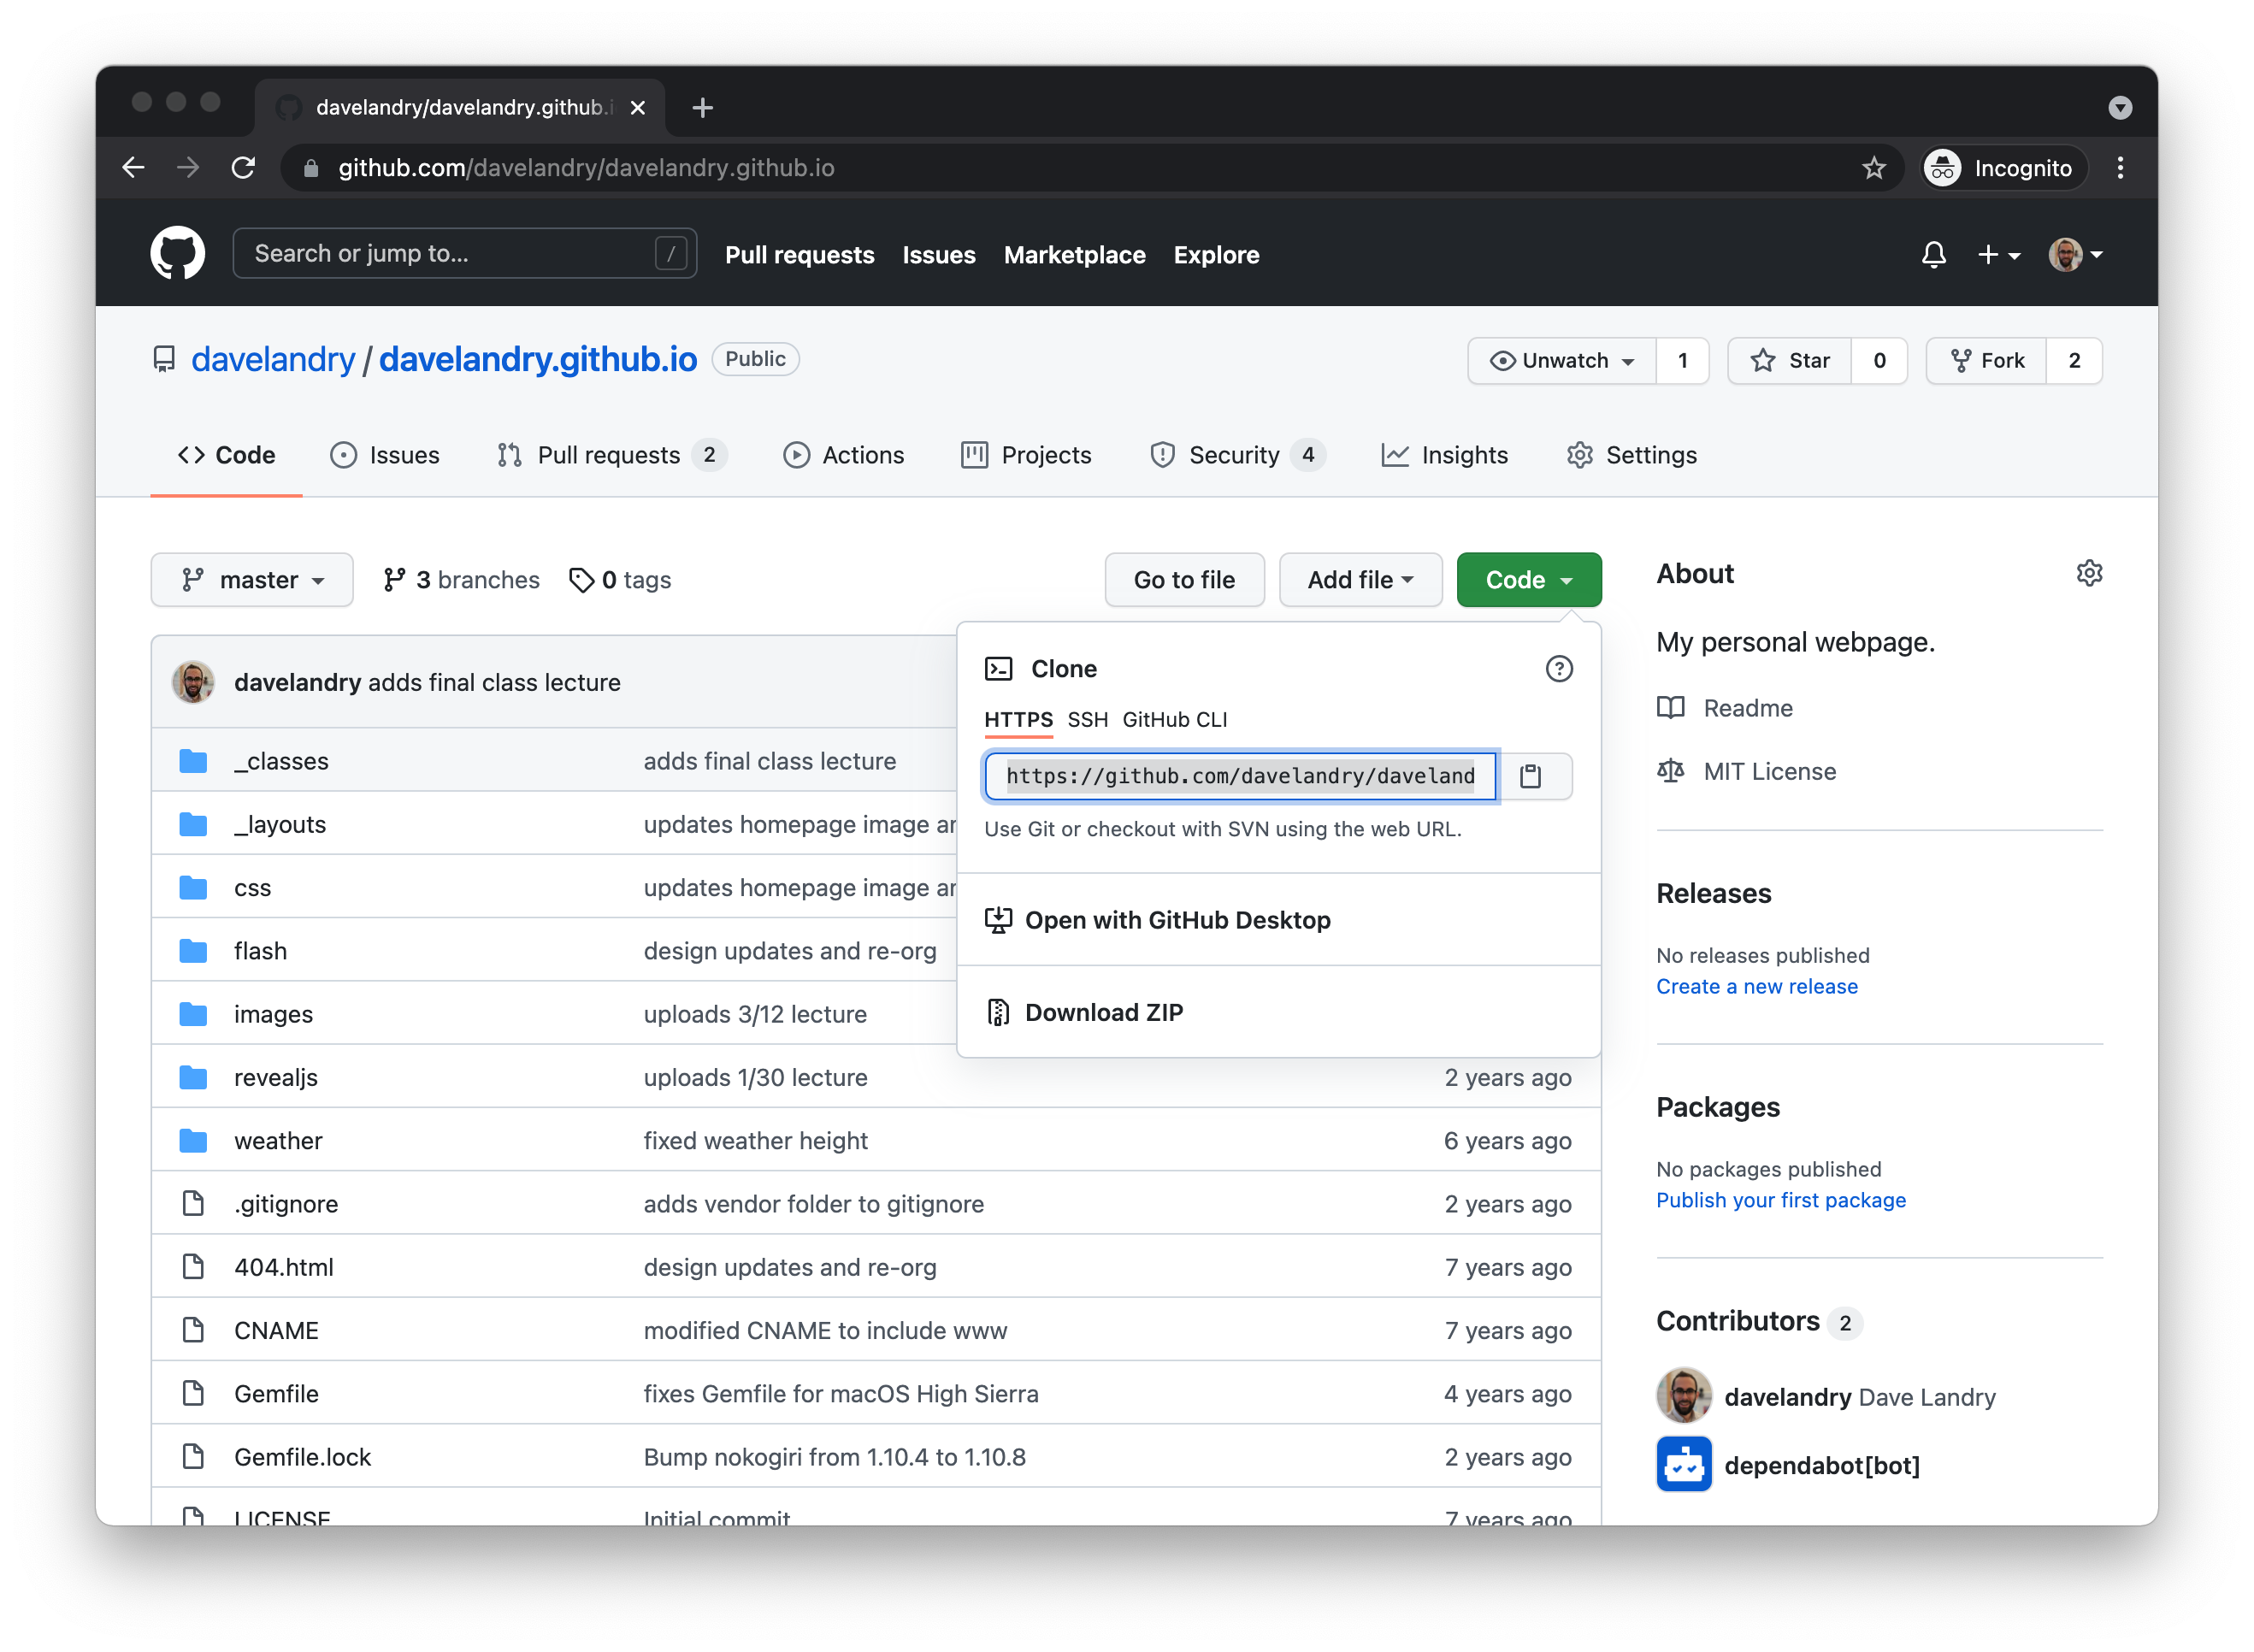
Changing Files Locally
With your repository on your machine now, open the folder in your text editor. In there, you should see a list of the files in a panel on the left.
Click on index.html to open it, change the text inside of it, and save it. Now let's try to upload that file back to Github.com.
Uploading to your repository
Uploading files to your repository is called "pushing", and a push can contain several groups of changes called "commits".
Commits have comments attached to them that tells the world what was changed in those files.
Push example
- Commit: "created a new logo"
- index.html
- logo.png
- Commit: "changed background color and title"
- styles.css
- index.html
Syncing with Github.com
The program only lists files with changes. Check off the files you'd like to commit, and write a commit message.
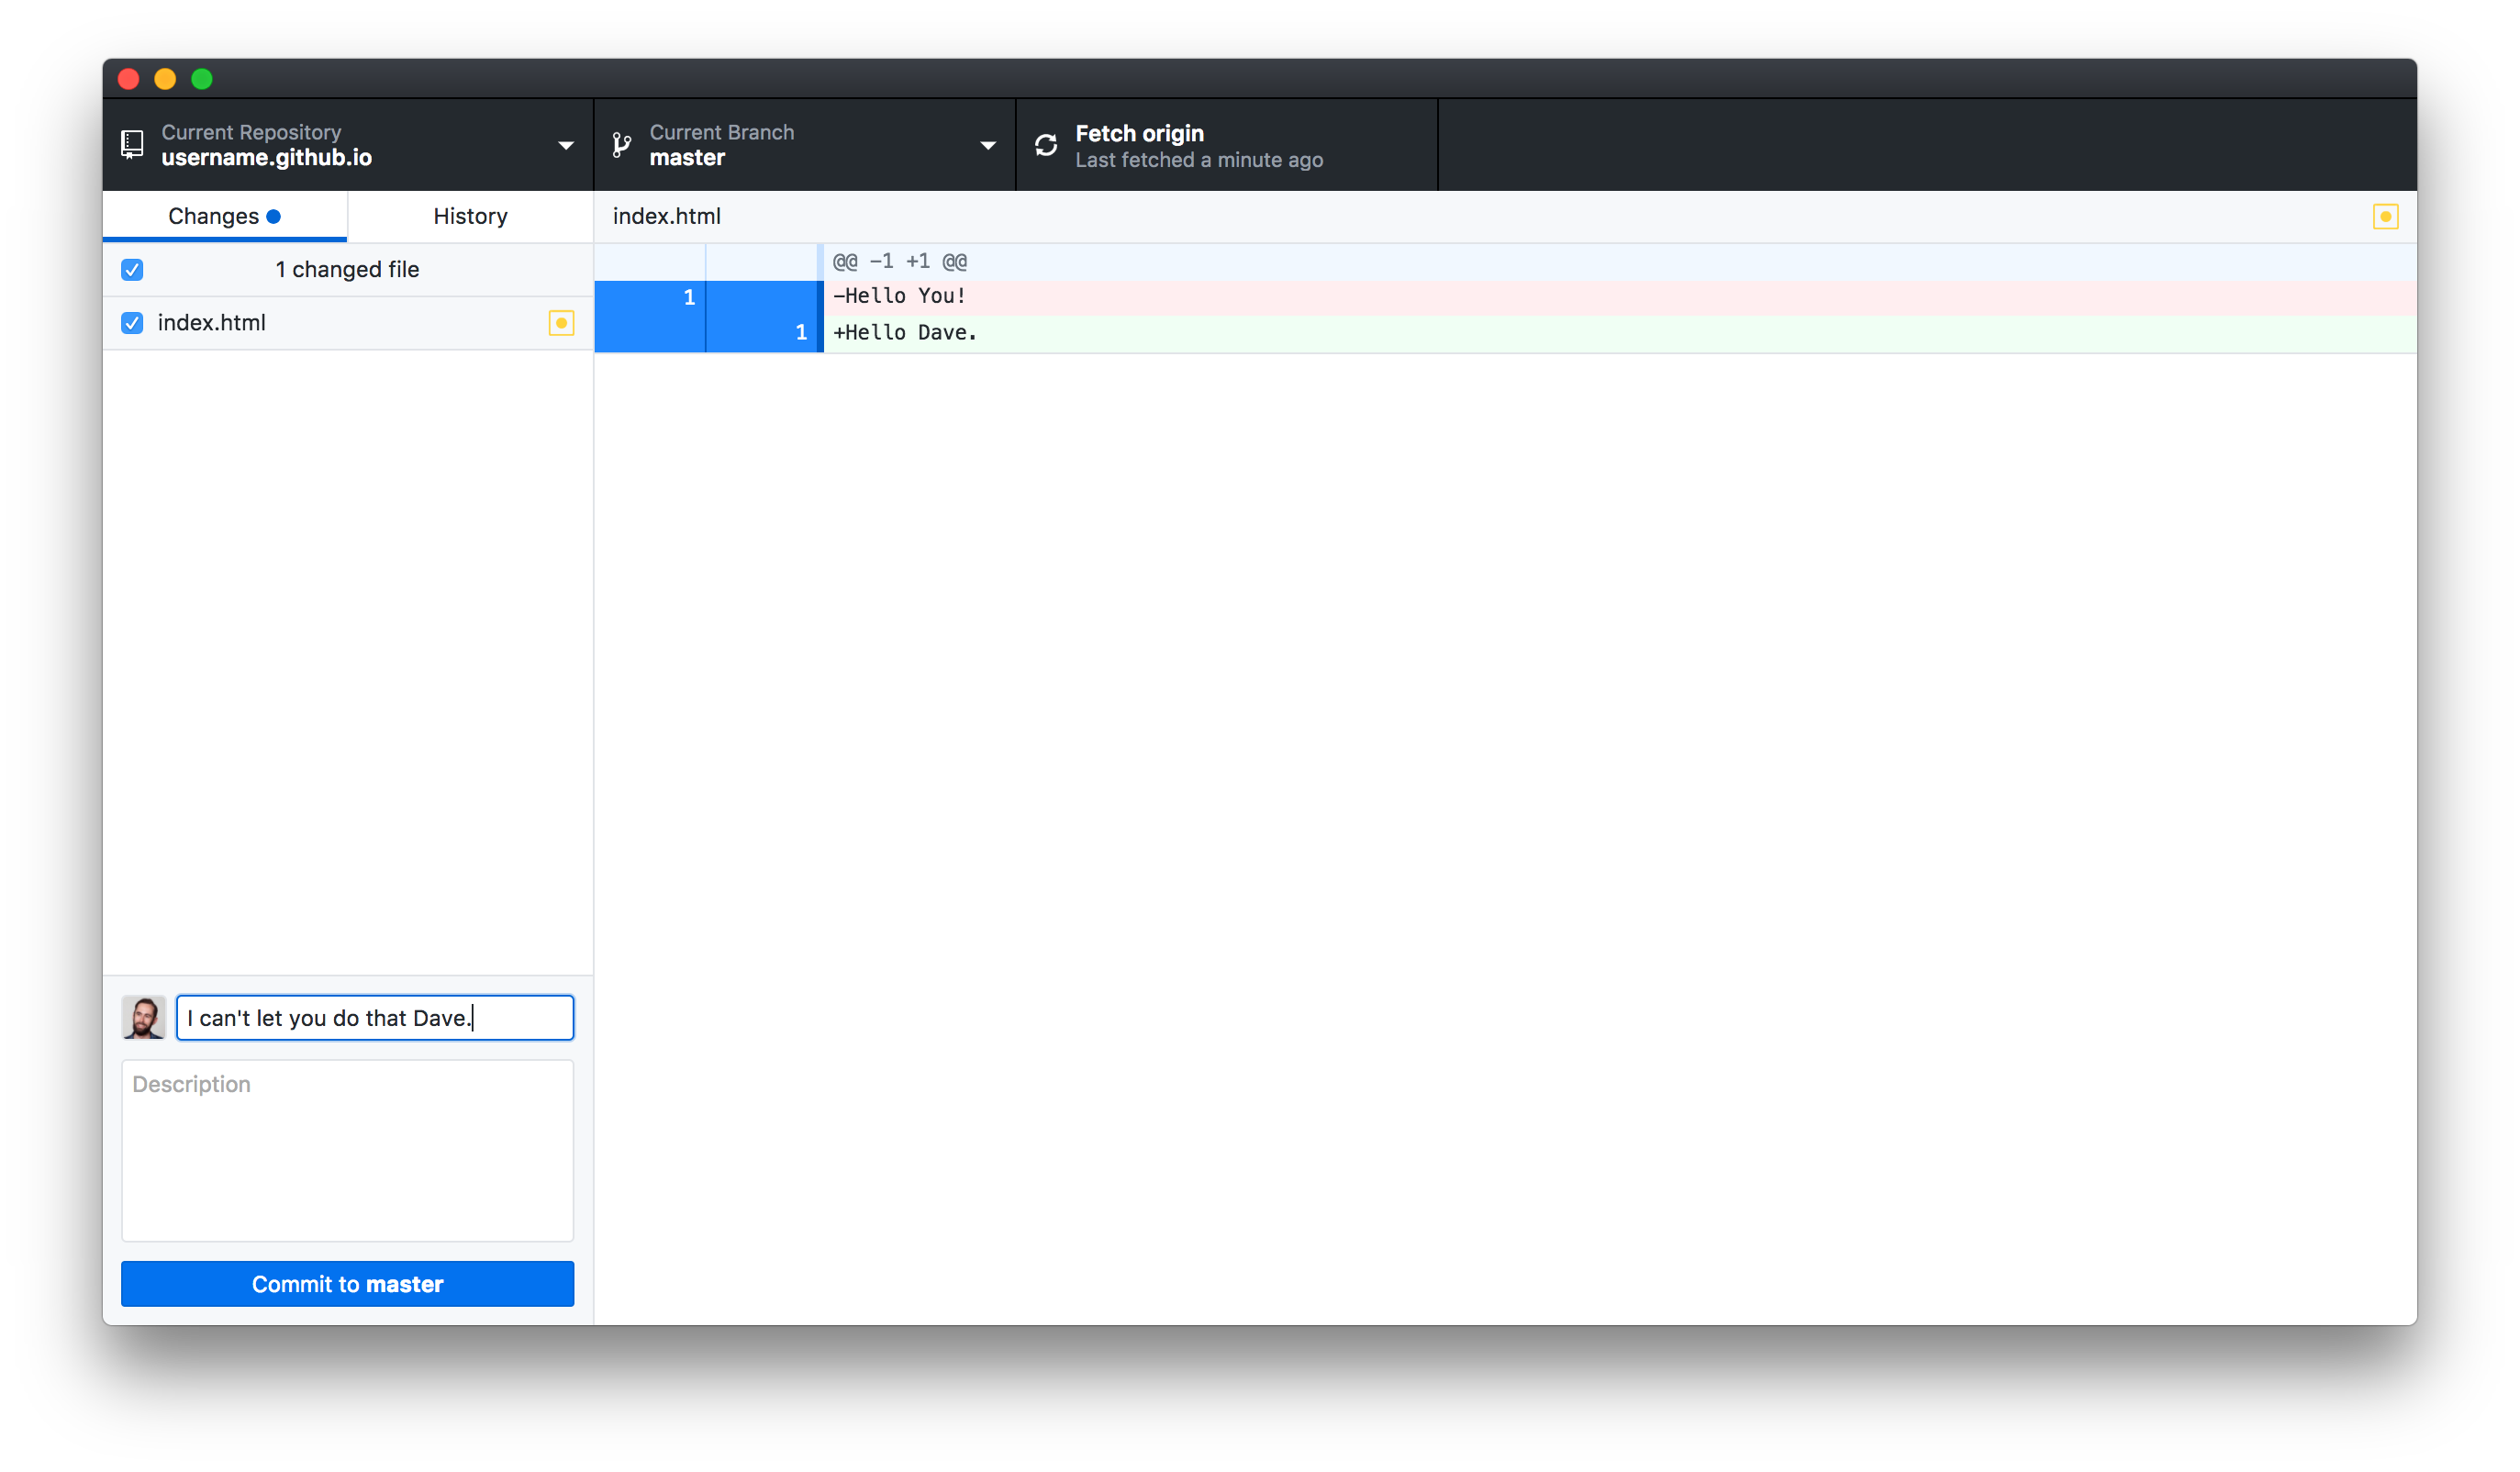
Click "commit to master", and then Sync!
Running the Site Locally
Running the Site Locally
So you've got updating files under your belt. But what if you want to view the changes in a browser BEFORE you push to the live site? These next few steps will get your computer set up as a local server to view these files.
Using Terminal
The Terminal is just a different way of interacting with you computer. Just like the Finder, you can make folders, move files, and even launch applications.
Commands are issued to the terminal by writing the command and pressing the 'return' key. Only 1 command can be issued at a time.
Windows Users
No judgement here, but you'll need to download a program from the web: http://rubyinstaller.org
Click the big red "Download" button, then the first RubyInstallers link (which is "Ruby 2.3.1" at the time of me writing this).
Mac Users
Type the following command into Terminal and press return:
xcode-select --installA popup should appear, click ok/agree to everything it says and a progress bar wlll start. This installs some basic programming packages that Apple does not include on computers by default.
Folders in Terminal
When looking at your computer through Terminal, you are always issuing commands from a specific folder on your computer.
Whenever you open a new Terminal window, you start out in your Home directory (or "~/"). This is the folder on your hard drive named after your username (available in the "Go" menu of Finder).
Package Manager for Github Pages
In order to run a Github Pages server on your laptops, you need to install a package manager for all of the software needed. Complex servers require a lot of small applications running together, and package managers will handle all of the messy stuff. Think of it like an App Store for your server software.
Run this command in Terminal to install Bundler:
gem install bundlerPermissions
If any of these Terminal commands gives you an error mentioning invalid Permissions, you can bypass that by prefixing the command with "sudo". For example, if the previous command failed because of permissions, you can say:
sudo gem install bundlerThis will ask you for your computer password, and then force it's way through the install.
Listing Dependencies
A Gemfile contains links to all of the package dependencies needed in order to run Github Pages locally.
In your text editor, create a new file in your project directory called "Gemfile" (capitalized, and no file extension!). Inside that file, add these 2 lines and save it:
source 'https://rubygems.org'
gem 'github-pages'
Installing the Gems
And finally, issue this command from your project folder to install the dependency from the Gemfile:
bundle installActually Running the Site
Good, you've made it this far. I promise you'll never have to do all that stuff again!
Now, all you need to do any time you want to serve the site is type:
bundle exec jekyll serve --watchLook in your browser!
You should be able to see your site at the following URL:
http://0.0.0.0:4000/Stopping the server
Anytime you would like to stop the server from running (say, to commit some files to Git), you can cancel the proess by pressing control+c on your keyboard while in Terminal.
Homework
- Personalize your index.html file to the best of your ability (your name, favorite color, etc). We will be working on this site together throughout the semester, and you will be using it to store all of your classwork.
- E-mail the link to your page to landry.dave@gmail.com.
- Put a link on your page to an interactive visualization that you find interesting.